InstantPot Taco Pie

IMG_2639OK – so it’s 4pm and you need dinner on the table at 6…stress, panic, anger? go through the emotions – then make a super quick, small crowd pleasing InstantPot Taco Pie.

Here is my riff on it:

Instant Pot Taco Pie

  • Servings: 4
  • Difficulty: easy
  • Print

Amazingly Easy Dinner in an Instant

Ingredients

  • 1.25 lbs Ground Beef – I prefer 90/10 or better
  • 1 Packet Taco Seasoning – just buy it
  • 1/2 Can Drained Black Beans
  • 2 TBSP Salsa
  • 2 TBSP Red Enchilada Sauce + Generous Spoonful to top off the pie
  • 2 Cups Shredded Cheese – mix of Jack and Cheddar
  • 4 Eight Inch Flour Tortillas
  • 1 7″ Springform pan
  • Chopped Cilantro, Sour Cream, Avocados for accoutrement

Directions

  1. Heat 1.5 tbsp Olive Oil in a medium fry pan over medium/high heat
  2. Add the ground meat and cook all the way through
  3. Add the taco seasoning and 2/3 cup of water and simmer for 8 minutes
  4. Set aside
  5. Spray the inside of the springform pan with nonstick spray
  6. In a small bowl, combine 1/4 cup of the drained black beans with 2 TBSP of salsa
  7. In a second small bowl, combine 1/4 cup of the drained black beans with 2 TBSP of the Enchilada Sauce – you can mash the beans into the sauce with a fork if desired
  8. Carefully nestle one tortilla in the pan – I found it easiest to form a flower-esque shape with the tortilla and press the center of the flower-shaped tortilla into the center of the bottom of the pan and then press it out from the center. The tortilla is bigger than the pan – just press the excess of the tortilla up the sides of the pan
  9. Add the beans & salsa mixture over the tortilla
  10. Top with 1/2 cup of the shredded cheddar / jack cheese mix
  11. Add a layer of the meat / taco seasoning mix
  12. Top that with another tortilla – be sure to press the tortilla down using the flower method. The excess tortilla can again be pressed up the side of the springform pan
  13. Layer the black beans / enchilada sauce mixture on top of that tortilla
  14. Top with a layer of 1/2 cup of the cheese mix and a layer of the meat
  15. Top that with another tortilla and press into the mixture and up the sides of the pan
  16. Add one more layer of cheese (1/2 cup) and the last of the meat
  17. Top with a final tortilla
  18. Take a generous spoonful of Enchilada sauce and smother it over the final, top tortilla
  19. Cover the pan with aluminum foil
  20. Put 1 cup of water in the bottom of the InstantPot
  21. Place the InstantPot rack in the pot and carefully place the covered springform pan on the rack
  22. Put the lid on and position the knob to ‘Sealing’
  23. Set the InstantPot to ‘High Pressure’ for 10 minutes
  24. After the cooking time is done, allow for a 5 minute natural release, then release the pressure manually
  25. Heat your oven to Broil – High
  26. Carefully remove the springform pan from the pot and place pan on a cookie sheet
  27. Remove the aluminum foil and top the Taco Pie with the final 1/2 cup of cheese
  28. Place in the oven and broil until the cheese is bubbly
  29. Remove from the oven and allow to sit for 5 minutes
  30. Carefully remove the springform outer from the pan and slide the pie onto a large cutting board
  31. Top with chopped cilantro and serve with offerings of sour cream, additional cilantro and hot sauce

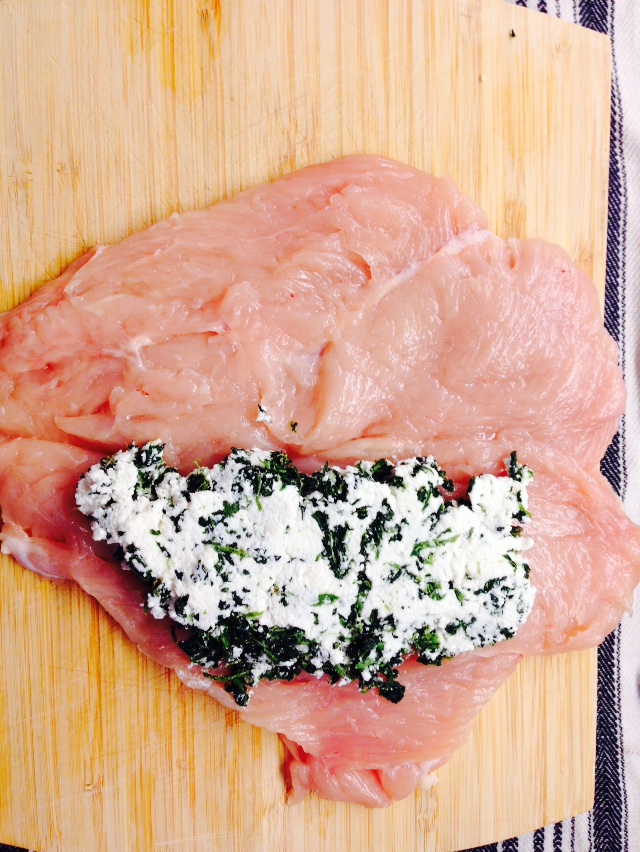
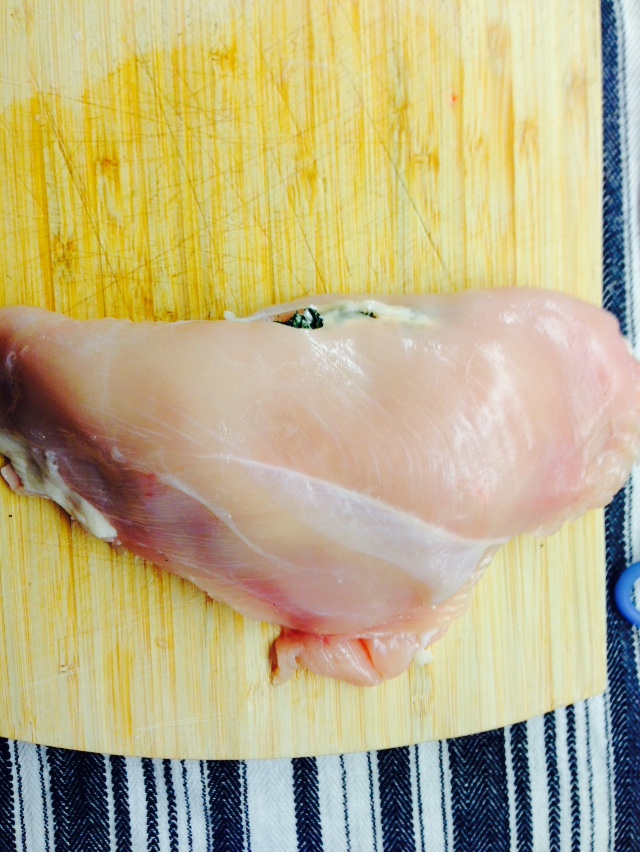
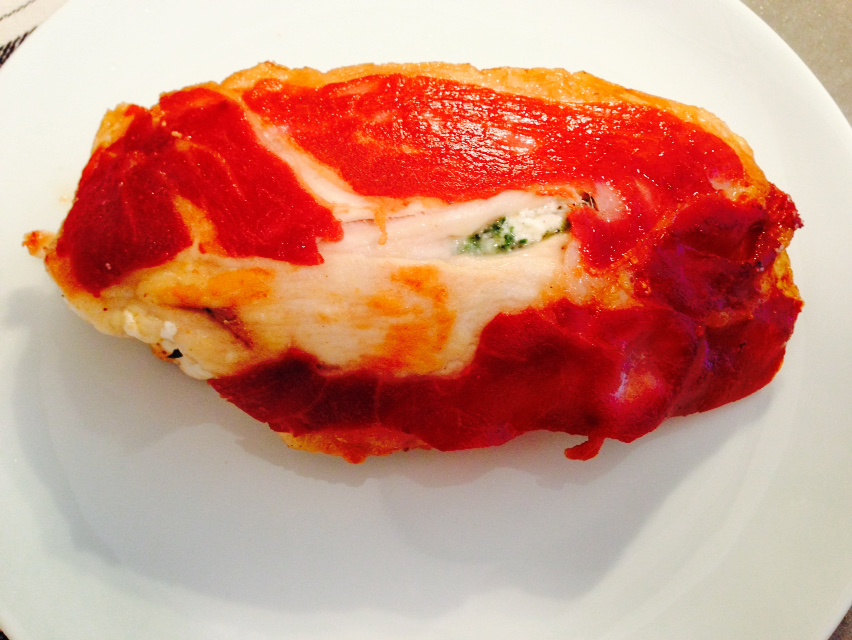
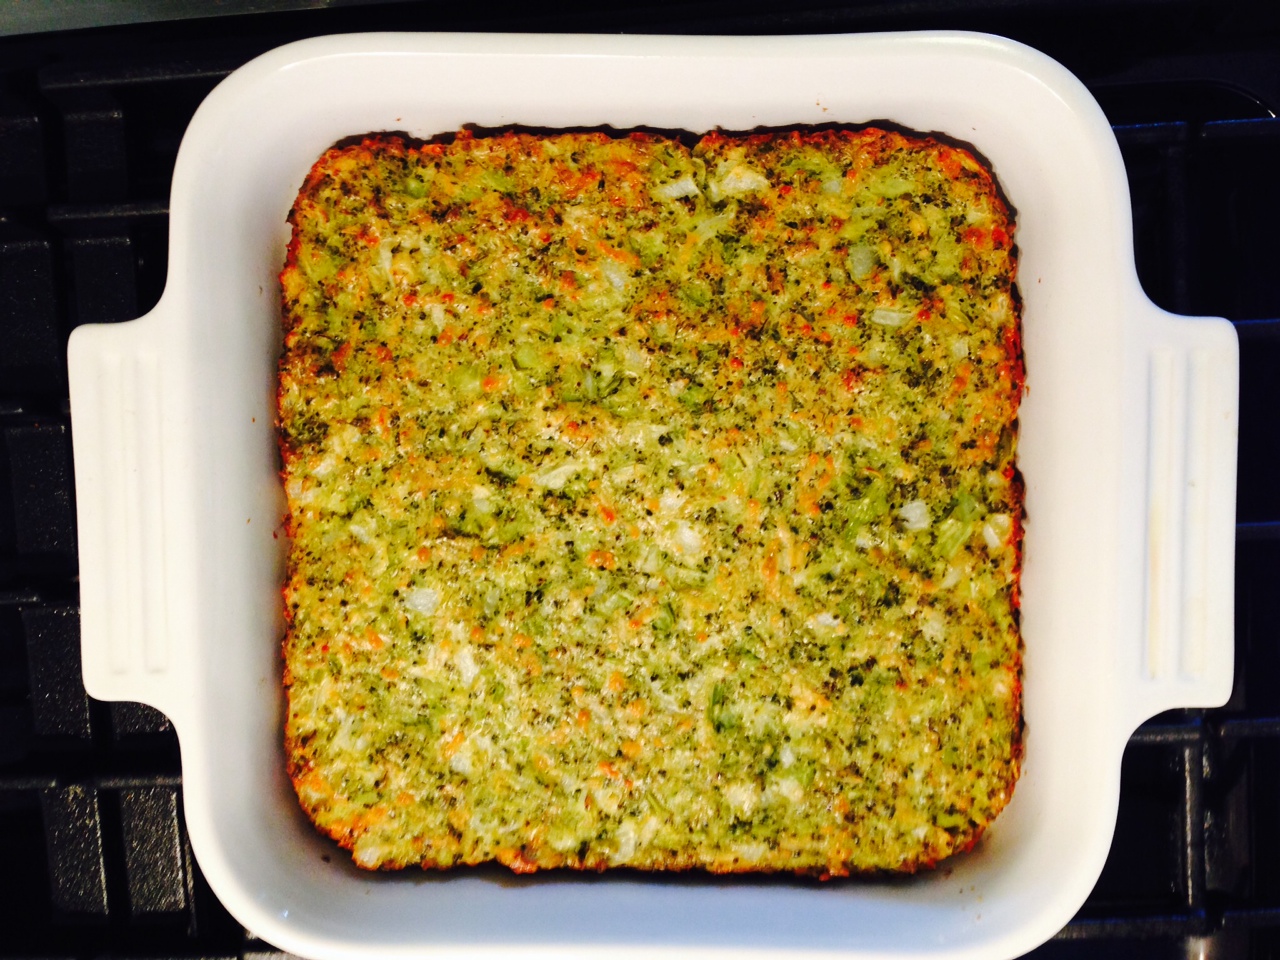
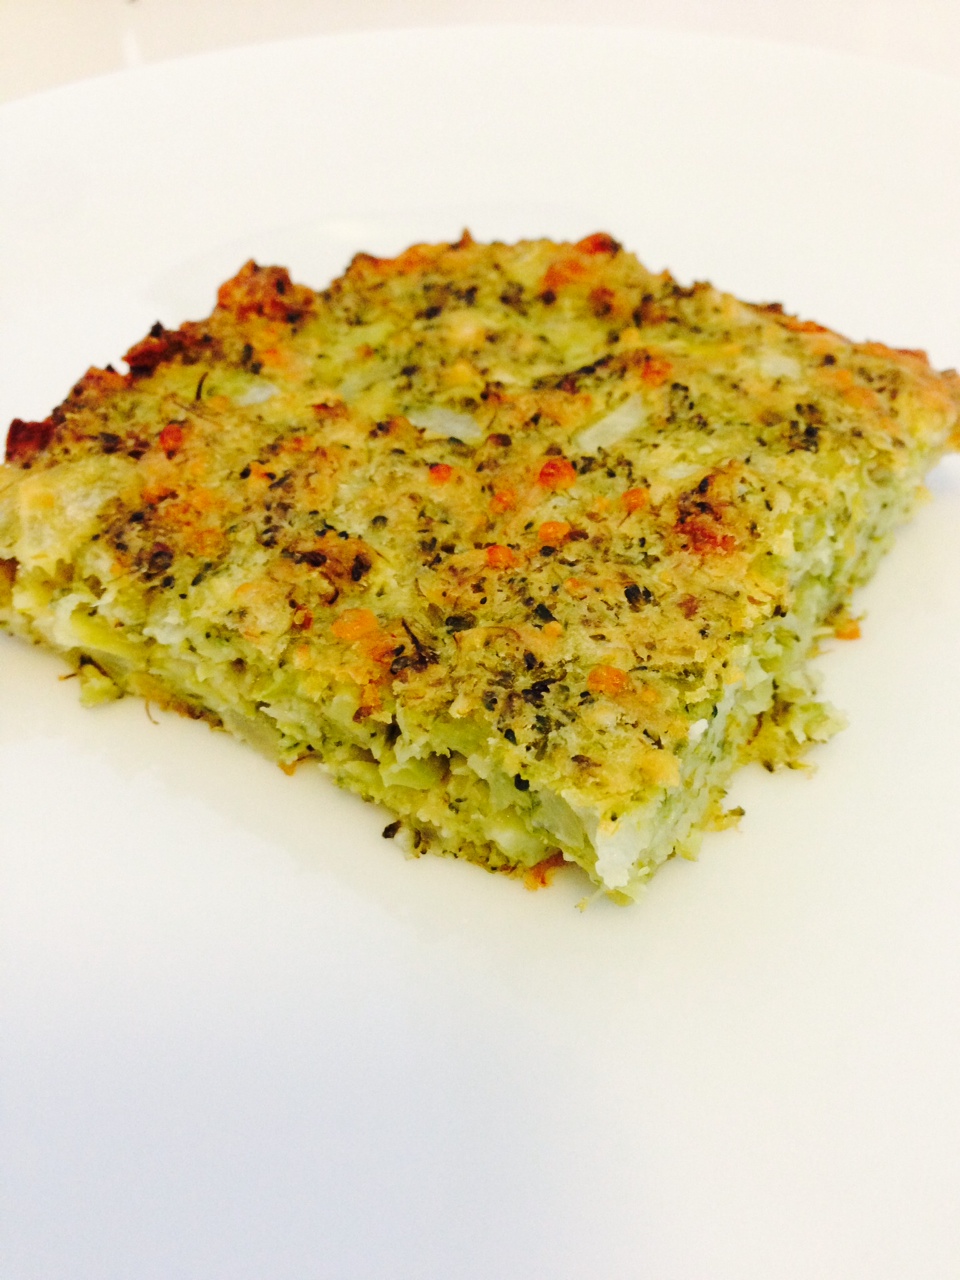
Here are a few photos of the process for reference:

Advertisement

Chicken Breasts Too Big? Perfect Chicken Possibilities.

I do a lot of yoga…sometimes right smack in the middle of the day. Why not? It’s good to get your zen on whenever you have 75 minutes to do so.

OK - it's called a Locust

OK – it’s called a Locust

Still…I’m never going to be that perfect poser…because, anatomically, some poses just aren’t meant for those with bigger breasts. I don’t know the names…but, there’s one pose that just doesn’t look right when I do it. Laying on your stomach you lift your arms, chest and legs off of the mat. It might be called a downward chimichanga – but I’m not sure.

Anyway, I’ve noticed that those in the class with regular sized chests (C-cup or larger) don’t get as much loft…while we are lifting our chests and our backs are bowed in equal proportion to the smaller gals, our breasts may still be touching the mat. Doesn’t seem fair – we are actually working harder (think of the weight alone) and getting less satisfactory results.

So, I’m working on a Yoga for Bigger Boobies Book – stay tuned.

In the mean time, and speaking of breasts – here’s a great way to make perfect chicken breasts every time.

Tiny apartment tips:

  1. You can buy a family pack of breasts (as long as they are from a good quality brand) and individually (wrap tightly in Saran wrap and then place in ZipLoc baggie) freeze what you don’t need. I like the Fairway ones and they’re usually priced well.

    Family pack!

    Family pack!

  2. You can freeze herbs like Thyme and Rosemary for a super long time and don’t need to defrost them to use. As long as they’re still fragrant, they’re OK to use.
  3. If your (chicken) breasts are too big…you can butterfly them or even slice them into three equal cutlets

Perfectly Easy Chicken Breast (serves 2)

Ingredients:

  • 1 large chicken breast – do you need to buy organic? No, no you do not. but go ahead if that’s your thing
  • 2 TBSP extra virgin olive oil – I’ve taken to buying the giant bottles at Fairway – not super space effective, but I transfer to my Sur La Table drizzler and keep the giant Fairway bottle out of sight
  • Photo Apr 09, 7 03 50 PMJane’s Krazy Mixed up Lemon Pepper – the flavored Jane’s are not as easy to find in NYC…I import it from Florida and have a dealer down there
  • Kosher Salt
  • 1 bay leaf OR 3 sprigs of thyme
  • 1 TBSP Flour (optional – but, I like it)
  • 1 little, innocent pat of butter (also optional)

1. In a large soup or stock pot (any pot with a lid and a base area large enough for the chicken to lie flat) heat the olive oil and the little pat of butter over med/high heat

perfect chicken

Yes, you can leave the butter out – but it helps the chicken brown and adds flavor

2. Place the large breast on a cutting board covered with Saran Wrap

3. Butterfly the breast – here’s a GoodHousekeeping article on how to do that – I can’t figure out how to take pix while I am butterflying and pounding chicken…but, here’s a before, during and after:

Lay breast on cutting board covered in plastic wrap

Lay breast on cutting board covered in plastic wrap

Slowly start to run knife down the side of the breast and pull back as you do

Slowly start to run knife down the side of the breast and pull back as you do

Don't cut through. This is what it will look like when you're done

Don’t cut through. This is what it will look like when you’re done

4. Place the butterflied breast between two pieces of Saran Wrap and pound it – gentle now – to about 1/2 inch thick. Don’t beat the poor thing

Just enough to make the width of the chicken uniform

Just enough to make the width of the chicken uniform

5. Generously salt and Jane’s Lemon Pepper both sides and add about 1/2 tsp of thyme leaves

Salt, Jane's Lemon Pepper and Thyme Leaves

Salt, Jane’s Lemon Pepper and Thyme Leaves

6. Dredge the breast in flour

Just a gentle dusting of flour - optional, but I like it

Just a gentle dusting of flour – optional, but I like it – and most is going to shake off

7. Place the chicken in the pot and sear on one side for about 1-2 minutes – the edges of the chicken will turn slightly white and the cooking side will brown

Sizzling….just browning - not really frying

Sizzling….just browning – not really frying

8. Flip the chicken – IF, you prefer the flavor of bay leaf over the thyme, this is where you throw in your bay

Just a little brownness…for flavor and seals in moisture

Just a little brownness…for flavor and seals in moisture

9. Reduce heat to low and cover the pot. Allow to cook undisturbed for 10 minutes

This is a terrible picture of my copper core cookware from All Clad at exactly 7:07pm

This is a terrible picture of my copper core cookware from All Clad at exactly 7:07pm

10. After 10 minutes, turn off the heat or remove completely from the heat source and leave with lid on undisturbed for another 10 minutes

11. Remove from pot, slice and serve – maybe with some chick pea and black bean salad

Perfect chicken with bean salad

Perfect chicken with bean salad

Not all breasts are created equal. I’ve accepted that my downward chimichanga (AKA Locust pose) isn’t going to look perfect and that my lift will be less than some.

Fortunately, when it comes to chicken, if your breasts are too big, you can just butterfly and pound them out. Perfect chicken breasts are always possible.

Don’t Deflate – Inflate the Taste – Spinach-Ricotta Stuffed Chicken Breast

Perfectly stuffed and inflated chicken breast

Perfectly stuffed and inflated chicken breast

People have been talking a lot about deflated things lately. The deflated Patriots balls proved for some good fodder on Twitter with #TomBradyHasSaggyBalls and #DeflateGate ruling online.

And things have been inflated too. This past week’s ‘epic’ ‘historic’  ‘monster’ snow storm is a great example of an inflated forecast – for NYC anyway.

But my most amazing recent encounter with inflation came from ConEd. Today I received my e-bill from the Electric Company – not the ’70’s singing kind. Now, I do look at these emails, but what happened today made me think of all the people who never do. See, today’s invoice was for $288.56 for electric charges since December 22 and not 12/22/12, 12/22/14. To put this in perspective, last month’s bill was $58.27 AND I’ve been away much of this billing period. I called – pressed a lot of buttons – and finally got an agent – Tony. Tony explained that because of the ‘storm’ the meters weren’t read and ConEd just estimates the wattage used….uhmmmm, based on what? Me running a neon sign company out of my apartment? After I went and read my own meter (now I know where that is) – the massive inflation error was corrected and my bill deflated down to $52.21.

Lesson here? Sometimes things are erroneously deflated and sometimes things are erroneously inflated.

One thing that you should not deflate but should inflate the taste of is chicken breast. Just pump it up with Ricotta Cheese and Spinach.

Ricotta-Spinach Stuffed Chicken Breasts (serves 2 – more if your breasts are inflated….)

Tiny Apartment Tips:

  1. You’re going to dirty a bowl, a plate, a fry pan and a baking dish – so clean as you go
  2. Don’t get over zealous with the flour – you just need enough to lightly coat the breasts – any more and flour will end up all over your counter(s) and floor
  3. Chicken goes on sale – but, please, I beg you, do not buy a store brand unless that store is Fairway, Trader Joe’s or WholeFoods. I recently had an unfortunate bad chicken incident when I stopped and shopped somewhere I won’t name.

Ingredients:

  • 2 Medium Sized Boneless, Skinless Chicken Breast

    On Sale!

    On Sale! – But a good brand, so AOK

  • 1 10oz Package of Chopped Frozen Spinach
  • 1/2 Cup of Whole Milk Ricotta Cheese – I like the Polly-O brand
  • 2 Slices of Prosciutto – thinly sliced – don’t go crazy, just buy the Boars Head
  • Flour
  • Olive Oil – you know the drill, really good extra virgin olive oil
  • Butter
  • Salt / Pepper – or Dad Salt – message me for where to find it

Preheat the oven to 350 degrees

1. Defrost the spinach – just take it from the package, put it in a microwave safe dish/bowl and zap it for 6-7 minutes

spinach, chopped, frozen, chicken, dinner

BirdsEye spinach – always a good deal

2. Drain the spinach – I wrap it in a clean kitchen towel and wring it out. Just be careful as the spinach is hot (duh) and will burn your hands

3. Once the spinach is wholly cooled – take about 1/2 of it and mix it with the 1/2 cup of Ricotta Cheese – set aside. You can use all the spinach with more ricotta (like I did) and then save the rest of the mixture for a great Spinach Maria side.

spinach, ricotta, stuffed chicken recipe

I made all the spinach and more ricotta –   enough stuffing for 6 breasts Or to make a spinach maria side

4. Butterfly the chicken breasts – this is a little tricky if you’ve never done it. Best advice is to place one hand on top of the breast, slice slowly into the flesh and continue to move your knife down the center and open the breast until it’s a perfect butterfly shape

Put one hand on top of the chicken to hold it steady while slicing

Put one hand on top of the chicken to hold it steady while slicing – and cut that fat off the end

5. Place the breasts one at a time on a large piece of plastic wrap on top of a cutting board

butterfly chicken breast

Perfectly butterflied breast – needs pounding!

6. Place a second piece of plastic wrap on top of the butterflied breast

7. Pound the chicken breast to about 1/4 inch thick – You’re not trying to kill the chicken, it’s already dead – Best method is to come down on the chicken with your mallet and then move the mallet to the outside of the breast. Be careful not to rip the breast open – though really no worries if this happens

8. Salt and Pepper or DadSalt the inside of the pounded breasts

DadSalt is a mix of flavinators and testifiers - a venture to raise funds for EBResearch.org. Contact me for details.

DadSalt is a mix of flavinators and testifiers – a venture to raise funds for EBResearch.org. Contact me for details.

9. On one side of the butterflied and pounded breast, place a heaping tablespoon plus a little more of the ricotta-spinach mixture and use your fingers to press it into an even layer. Leave a little space on the edges – don’t overstuff.

stuffed chicken, spinach ricotta dinner

That’s about the right amount of stuffing – maybe a little too much…

10. Fold the un-spinach/ricotta half of the breast over the spinach-ricotta half and gently press the edges together

stuffed chicken breast, dinner

See, there’s a hole in mine – not to worry. It’ll be hidden by the prosciutto

11. Dredge the stuffed, sealed breasts in flour just to coat

12. Take one slice of the prosciutto and lay it on top of the dredged, stuffed chicken breast

stuffed chicken breast recipe

Dredged and covered – note the hole is now just our secret

13. Heat about 2 TBSP of Olive Oil and 1 TSP of butter in a large pan over medium/high heat

14. Prepare a 9×9 or 8×8 or whatever sized baking dish will fit the breasts with cooking spray – set aside

15. Once the oil, butter is melted and sizzling hot, place the chicken breasts prosciutto side down on the hot pan

stuffed chicken breast dinner

Yes, the prosciutto will adhere all on its own to the chicken. Trust me.

16. Brown the chicken until the prosciutto is browned and crisped and adhered to the chicken – about 4 minutes

17. Flip the chicken and brown the alternate side – about another 4 minutes

stuffed chicken breast, prosciutto, dinner

This is what the prosciutto should look like – perfectly browned and adhered to the chicken.

18. Remove the breasts from the pan and place in the prepared baking dish.

19. Place the baking dish into the oven for :20 minutes – until cooked through and chicken meat is completely white

20. Remove and serve

stuffed chicken breast recipe

Perfect. Just Perfect.

Chicken breast stuffed with spinach

And the surprise inside!

Some things are meant to be deflated – huge egos, beach balls at the end of the day, giant Santas after christmas is over. And, some are meant to be inflated – not my ConEd bill, mind you – but rather a chicken dinner sumptuously inflated with spinach and ricotta cheese.

Skeptical of Microwave Corn? Don’t Give a Shuck

corn, microwave, vegetarian

Sheath. Corn. Just that easy

My business partner (for my manderpants company) tells me I’m the skeptical one. I’m the one that asks the questions. That brings up the potential for disastrous outcomes. That reads the Yelp reviews, all of them, before we book hotels – I mean, bed bugs are a real thing, people.That may be prone to thinking something just isn’t quite right. That maybe – just maybe – Googles too much – I’m a really good Googler.

So when the microwave corn video started showing up all over Facebook and in my other social media feeds – because I follow food stuff and stuff – I didn’t really believe it. I mean, people do lie on the Internet.

I thought I had mastered the most succulent and fabulous corn the old fashioned way…a best friend who is ‘corn-psychic’ and selects perfect cobs every time, lots of shucking, big pot of water, butter and whole milk (or cream, who cares?) in the boiling water…add corn, cover, turn off heat – wait 12 mins, eat.

But this is no longer the best way. Plus, if there’s one KP job I hate – it’s shucking. I said ‘shucking’…

So…the microwave corn with no shucking at all intrigued me.

Ingredients:

Corn IN the cob – 1, 2, 22 pieces, I don’t care – ps, it was on sale at Whole Foods this week, so, bonus!

Preheat the……wait, you don’t need to do that

Fill a large pot with water….nope, not that either

1. Open the microwave. Yeah. Do that.

2. Put an ear of corn or two or three, whatever, in the microwave – DO NOT GIVE A SHUCK

corn, microwave

I just made one to test – cuz I really didn’t believe it would work – ps, look how clean my microwave is. yep.

3. Microwave on high for 3 minutes, just 3

microwave, kitchenaid, corn

It’s very hard to photograph my microwave. but you get it

4. It’s very very hot – wear an oven mitt, please…AND – Remove from microwave and cut the base off – you need to cut about a 1/2 inch into the kernel part – it’s fine, you’ll have enough corn, promise, trust me, google it.

corn, microwave, whole foods

I had to cut twice as the first time I didm’t get enough of it – see two cuts…I was proceeding in doubt and with caution

5. Hold the icky hairy top part of the corn with an oven mitt and shake it like a Polaroid picture….this is sorta the hard part – you have to really shake to get it moving out of the sheath

corn, microwave

Hold and shake – fer reels. PS, my oven mitt reminds me of Muppet hands.

6. As the corn starts to come clean of the sheath, you can assist by pulling the perfect corn with a second oven mitt

corn, microwave, vegetables

AHHHHnd…it’s working! Shock and Awe.

7. et voila – perfect corn, no sheath, no hairy stuff and you don’t have to give a shuck

corn, vegetables

Seriously, perfect. Hardest part is the shake-ification

Test was so successful, that I zapped two more ears and made magical toasted corn.

Is the lesson have more faith in things you see/read on the Internet? Uh…don’t think so – but keep reading, investigating, googling, if you will…and ultimately, test it for yourself. Sometimes it’s best to be skeptical, sometimes it’s best to not give a shuck.

Patience and Perseverance: Broccoli Pie ’70s Style

The ladies of a certain generation are very protective of their old family recipes and refuse to share their secrets even among their closest friends. If, heavens, a woman finds herself forced to reveal the recipe, she might…I’m saying might…accidentally, like totally by accident…leave out one crucial ingredient rendering the replication far inferior to the original.

Such ingredient omission could result in conversations like “Louise, I made your pecan bars last week and they just weren’t as good…’ To which Louise might just smile and say ‘bless your heart’. (see Southern lady’s translation of this sentiment)

I had been begging a friend’s mother for her Zucchini casserole recipe for exactly three years. Every time I saw her I asked again and she always found a way around giving it to me.

Denial of its existence:       ‘I’m not even sure I have it written down.’

No way to send it:  ‘Oh, I don’t have email.’

Fear of being replaced:    ‘I don’t want the casserole showing up at dinner parties all over town.’

But, I was persistent and about six months ago, she sat me down, went into a triple locked vault and simply said: ‘Do you have a pen?’

Listening intently…I took copious notes and asked only one question: ‘do you think adding toasted bread crumbs to the top would be good?’ Horrified, insulted and thinking about ripping the recipe out of my hands, she shook her head disapprovingly and said firmly, ‘NO.’

When it came time to make the casserole, (and please don’t tell) I did make a few changes: I subbed out zucchini for broccoli and divided the recipe by 4 – ‘Louise’ (that’s an alias, she who has no access to the internet or this blog prefers not to be named) makes a giant batch, divides in to several 9-inch bread pans before cooking and freezes – then she pulls out a pan, thaws and bakes off as needed.

Tiny Apartment Tips:

  1. Bisquick ExpiryThis recipe was translated from one that made enough Zucchini casserole for an army – there was math – but it worked out. Don’t be afraid to do some dividing in order to cook for fewer than 57 people
  2. Write expiry dates on the side of packages that face out in the cabinet – that way each time you look in there, you’ll know how many more days you have left to use your Bisquick – I had until today (no fear, I baked this over the weekend)
  3. Don’t keep your 8×8 Le Creuset baking dish on the very top shelf of your cabinets – the fact that mine was up there kept me from using it for a very long time. Thank goodness for my Gracious Home step ladder

Broccoli Pie (serves 4)

Ingredients:

  • bisquick recipes

    70’s mix

    2 Cups Broccoli Florets

  • 1/2 Large Onion
  • 2 Large Eggs
  • 1/4 Cup Vegetable Oil
  • 1/2 Cup Bisquick Baking Mix
  • 1/4 Cup Grated or Shredded Parmesan Cheese
  • 1 Teaspoon Italian Seasoning
  • Pepper – if you want

Preheat Oven to 425 degrees

1. Mise en place – always miss en place – cheese, eggs, vegetable oil, Bisquick mix, onion half, Italian Seasoning

mise en place anne burrell vegetarian

All important Mise En Place

2. Chop the stems off of your broccoli and rough chop – then wash

broccoli vegetarian dinner side dish recipe

Lots of Broccoli – fresh from Fairway Market NYC

3. Pretend you’re going to make vegetable stock and keep the broccoli stems in the freezer until you admit that you’re not going to ever make vegetable stock and then throw them out.

broccoli stems vegetarian pie side dish

Be honest, you’re not going to make veggie stock

4. Roast the broccoli – this adds a great, browned, smoky flavor to the casserole. Spread the broccoli in a single layer on a lined cookie sheet. Toss with ‘really good’ olive oil and salt. Roast for 15 mins, tossing them around a bit about halfway through.

roasted broccoli dinner side dish vegetarian

Brown food is good food – roasted broccoli

5. Turn oven down to 350 degrees

6. Allow the broccoli to cool for about :10 mins then toss it into your Cuisinart

7. Chop the onion into chunks and toss into the Cuisinart with the broccoli

side dish recipe vegetarian casserole

Thank you Cuisinart

8. Pulse until the broccoli and onions are well minced, but still have a tiny bit of chunkiness to them

9. If you’re using shredded parmesan (not grated) – add to the Cuisinart and pulse a few more seconds

broccoli casserole recipe vegetarian

Slight chunks AOK

10. In a separate bowl combine the 2 eggs, Bisquick, Vegetable oil, Italian Seasoning and pepper if you like that kind of thing. You already salted the roasted broccoli, so no need to add more. (Also if you’re using grated parmesan, add it now)

recipe side dish vegetarian broccoli

Bisquick-y mix

11. Add the broccoli, cheese, onion mince to the Bisquick mix and stir to combine

broccoli casserole recipe

Add the broc onion cheese mix

12. It should look like this – just make sure you get all of the dry bisquick-y stuff well combined with the veggies and eggs

vegetarian casserole broccoli recipe

Well mixed

13. Spray an 8×8 Le Creuset dish with Pam or other nonstick cooking spray. Can you use other than Le Creuset? No, no you can not.

14. Spread the mixture into the baking dish evenly – should be about 1 inch thick

vegetarian casserole dinner broccoli

Spread into modern Corningware = Le Creuset

15. Bake at 350 – did you remember to turn down the oven? – for :35 mins or until lovingly browned

broccoli pie casserole recipe

Perfectly browned edges

16. Slice into wedges and serve

vegetarian side dish recipe broccoli

Sumptuous Slice

The Broccoli Pie nee Zucchini casserole recipe was worth waiting, begging and ultimately fighting for. It’s a ’70s throwback to the time when most vegetables were over boiled or minced and most side dishes included Bisquick.

To those of you who are courting women of a certain generation for a secret family recipe, let me say just this – patience and perseverance pay off. And, if this dish starts popping up at dinner parties all over town – please don’t tell ‘Louise’ about this blog.