
Braided Easter Bread
As Easter approaches, many of us ponder our faith. And, since this year Passover and Easter coincide, more of us are taking time to think about what it all means.
I went to a super Catholic university somewhere in the middle. Like a school where students were encouraged to attend any one of the 26, yes 26, masses held between Saturday at 4:30pm and Sunday at 6pm. A university where the Old Testament was studied as a history and taught (at the time) by the sole interpreter of the Dead Sea Scrolls. A school where a gentleman caller might ask you on a date to mass – this was a big deal.
Back then, the student body was pretty homogenous – I think it was something in the neighborhood of 90+% Christian and of that over 80% Catholic. Being surrounded by mostly Catholics and beer, oh and nickel purple passions, led to some more than riveting late night philosophical discussions and revelations about Jesus.
One such late night post purple passions or quarter beers we engaged in the most philosophical of all discussions about God and Jesus. So many questions. We all wondered was Jesus really the son of God? Did he really rise from the dead?
After much discussion, my very wise roommate summed it up perfectly for all of us. She said: I don’t know if Jesus was the son of God or rose from the dead. All I know is that Jesus was a really good guy who said a lot of really good things that lasted a really long time.
Makes sense.
One thing that I am certain will rise – and rise three times – is this sweet, braided Easter bread.
Tiny Apartment Tips:
- Clean as you go and reuse your prep bowls – you can temperate your eggs in the same measuring up that you used to measure your flour
- Active Yeast and Instant Yeast can be used interchangeably – I know because I Googled it
- Set aside enough time as while Jesus took three days to rise, this bread requires 90 minutes to rise and then 45 minutes to rise again
Sweet Braided Easter Bread (serves a whole bunch of people of any faith)
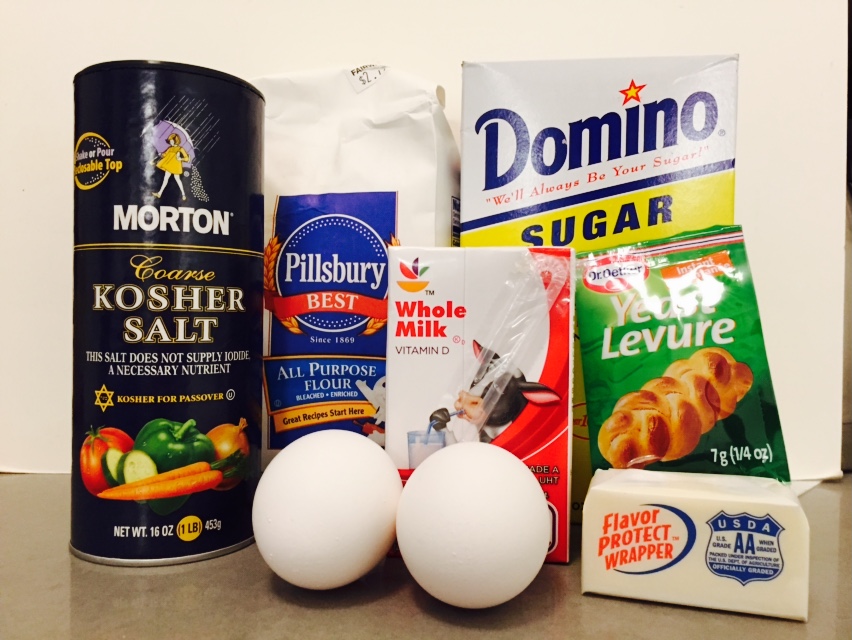
Ingredients:
- 2/3 Cups Whole Milk – since I don’t drink milk, I keep little Stop and Shop single serve milks on hand – they last forever in your pantry until opened, and then a few days in your fridge
- 5 TBSPs of Sugar – I use Domino Sugar – always have, always will
- 1 3/4 TSPs of active dry yeast…but I couldn’t find that – so used Instant Yeast. Also – 1 3/4 TSPs is LESS than 1 packet…so, yes, you have to measure it out
- 2 Large Eggs at room temperature – you must temperate your eggs
- 2 1/3 C of Flour– now, the recipe actually called for 2 3/4 Cups…but I screwed up and used less – it was all fine – there was math, but an Easter Miracle made everything OK
- 1 TSP Kosher Salt – because we welcome all religions – The Morton Salt is good and less expensive than those designer Kosher brands…
- 1/2 C = 1 Stick unsalted butter softened and sliced…I only had salted butter so I just used less Kosher Salt
- Some melted butter
that’s all you need for an Easter miracle – I didn’t even realize that the Yeast package was using my photo of perfectly braided bread
1. In a small sauce pan, gently heat the milk over a low flame to 115 degrees – this happened super quick – so watch it. I used a candy thermometer, but any thermometer will do

Gently heated to 115 degrees -I used my candy thermometer to check
2. Pour the heated milk into a 2 Cup measuring cup and stir in 1 TBSP of sugar and add the yeast – check out my awesome tiny Le Creuset rubber prep bowl! Whisk it all together.
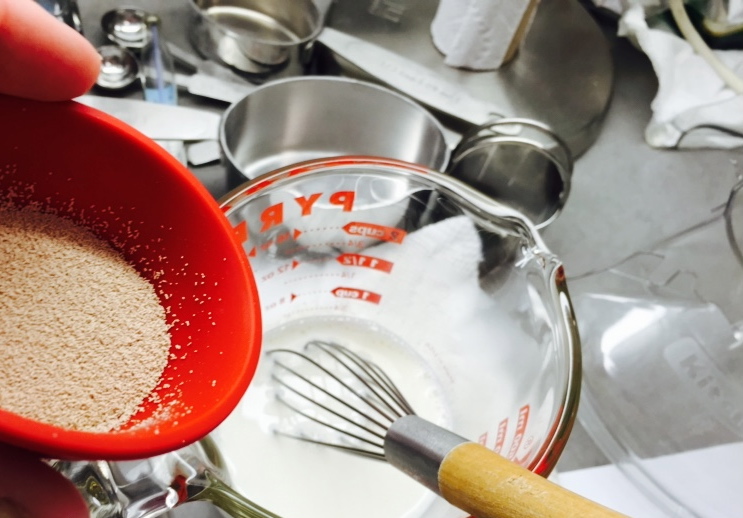
Adding Instant Yeast (use like Active Yeast) from little rubber Le Creuset prep bowl
3. Add the eggs one at a time and whisk together

Make sure your eggs are at room temp!
4. Once combined – set aside and wait for the first rise – the yeast will activate and make the mixture all foamy – this takes about 5 – 7 minutes

Rise #1 – foam forms
5. In the mean time – combine the flour, remaining 4 TBSPs of sugar and salt in the bowl of your KitchenAid stand mixer with the bread attachment. This was the debut for my bread attachment!

I’ve never used the bread attachment before. Love my KitchenAid!
6. Pour in the foamy once risen mixture and begin to mix over medium speed

Wet into dry – always
7. Slowly – one pat at a time – add in the butter

I love these Land O’ Lakes 1/2 sticks. Butter must be softened and sliced.
8. Jack up the mixer to medium/high and let the kneading begin – knead on med/high for 5 minutes or until the dough is soft and smooth!

Silky Smooth! Sticky, but silky smooth
9. Transfer the dough into a bowl brushed with melted butter.
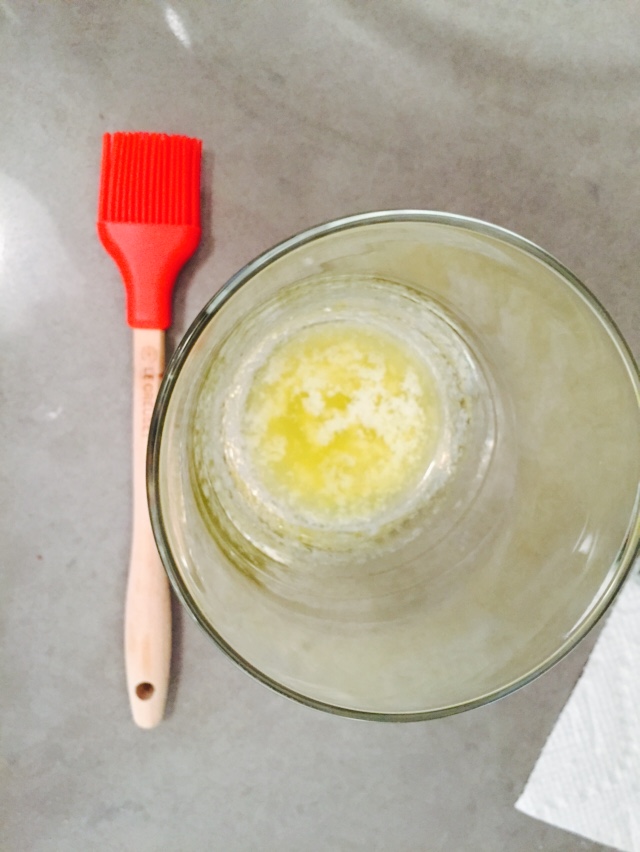
Love my little brush
10. Brush the top of the dough with even more butter, cover and set aside for the second rise – about 90 minutes in a warmish place – Dough should double in size – makes me wonder – did Jesus get bigger?
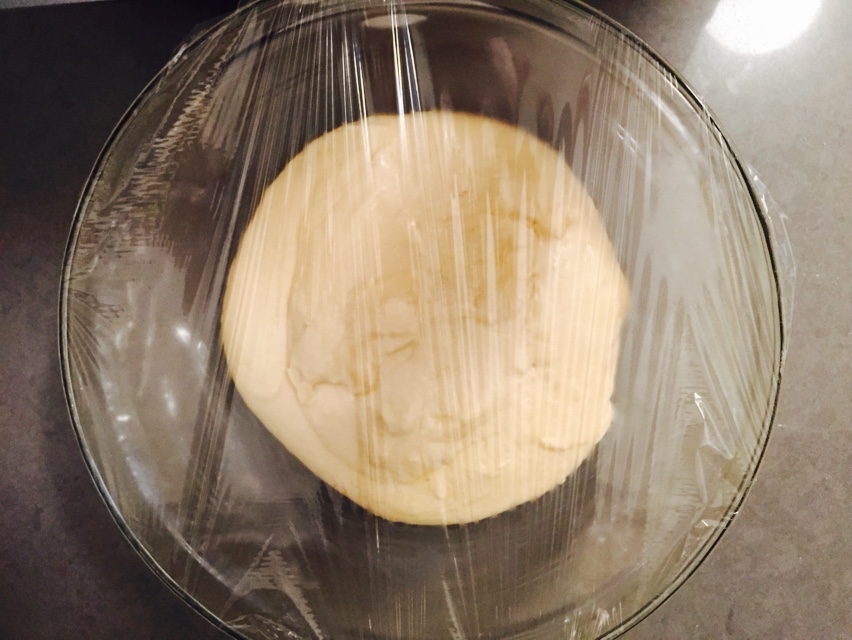
Rise #2 – brushed with butter and covered. Now, wait for it….
11. After the miracle second rise has occurred – Put some flour in a tiny bowl and dip your hands in! The dough is sticky- so flouring your hands will help.
12. Divide the dough into three equal parts. Form each into a long loggish shape and set on a cookie sheet, lined with parchment paper and lightly floured. Now, since I didn’t use enough flour from the get go – I was more generous with the flour here.
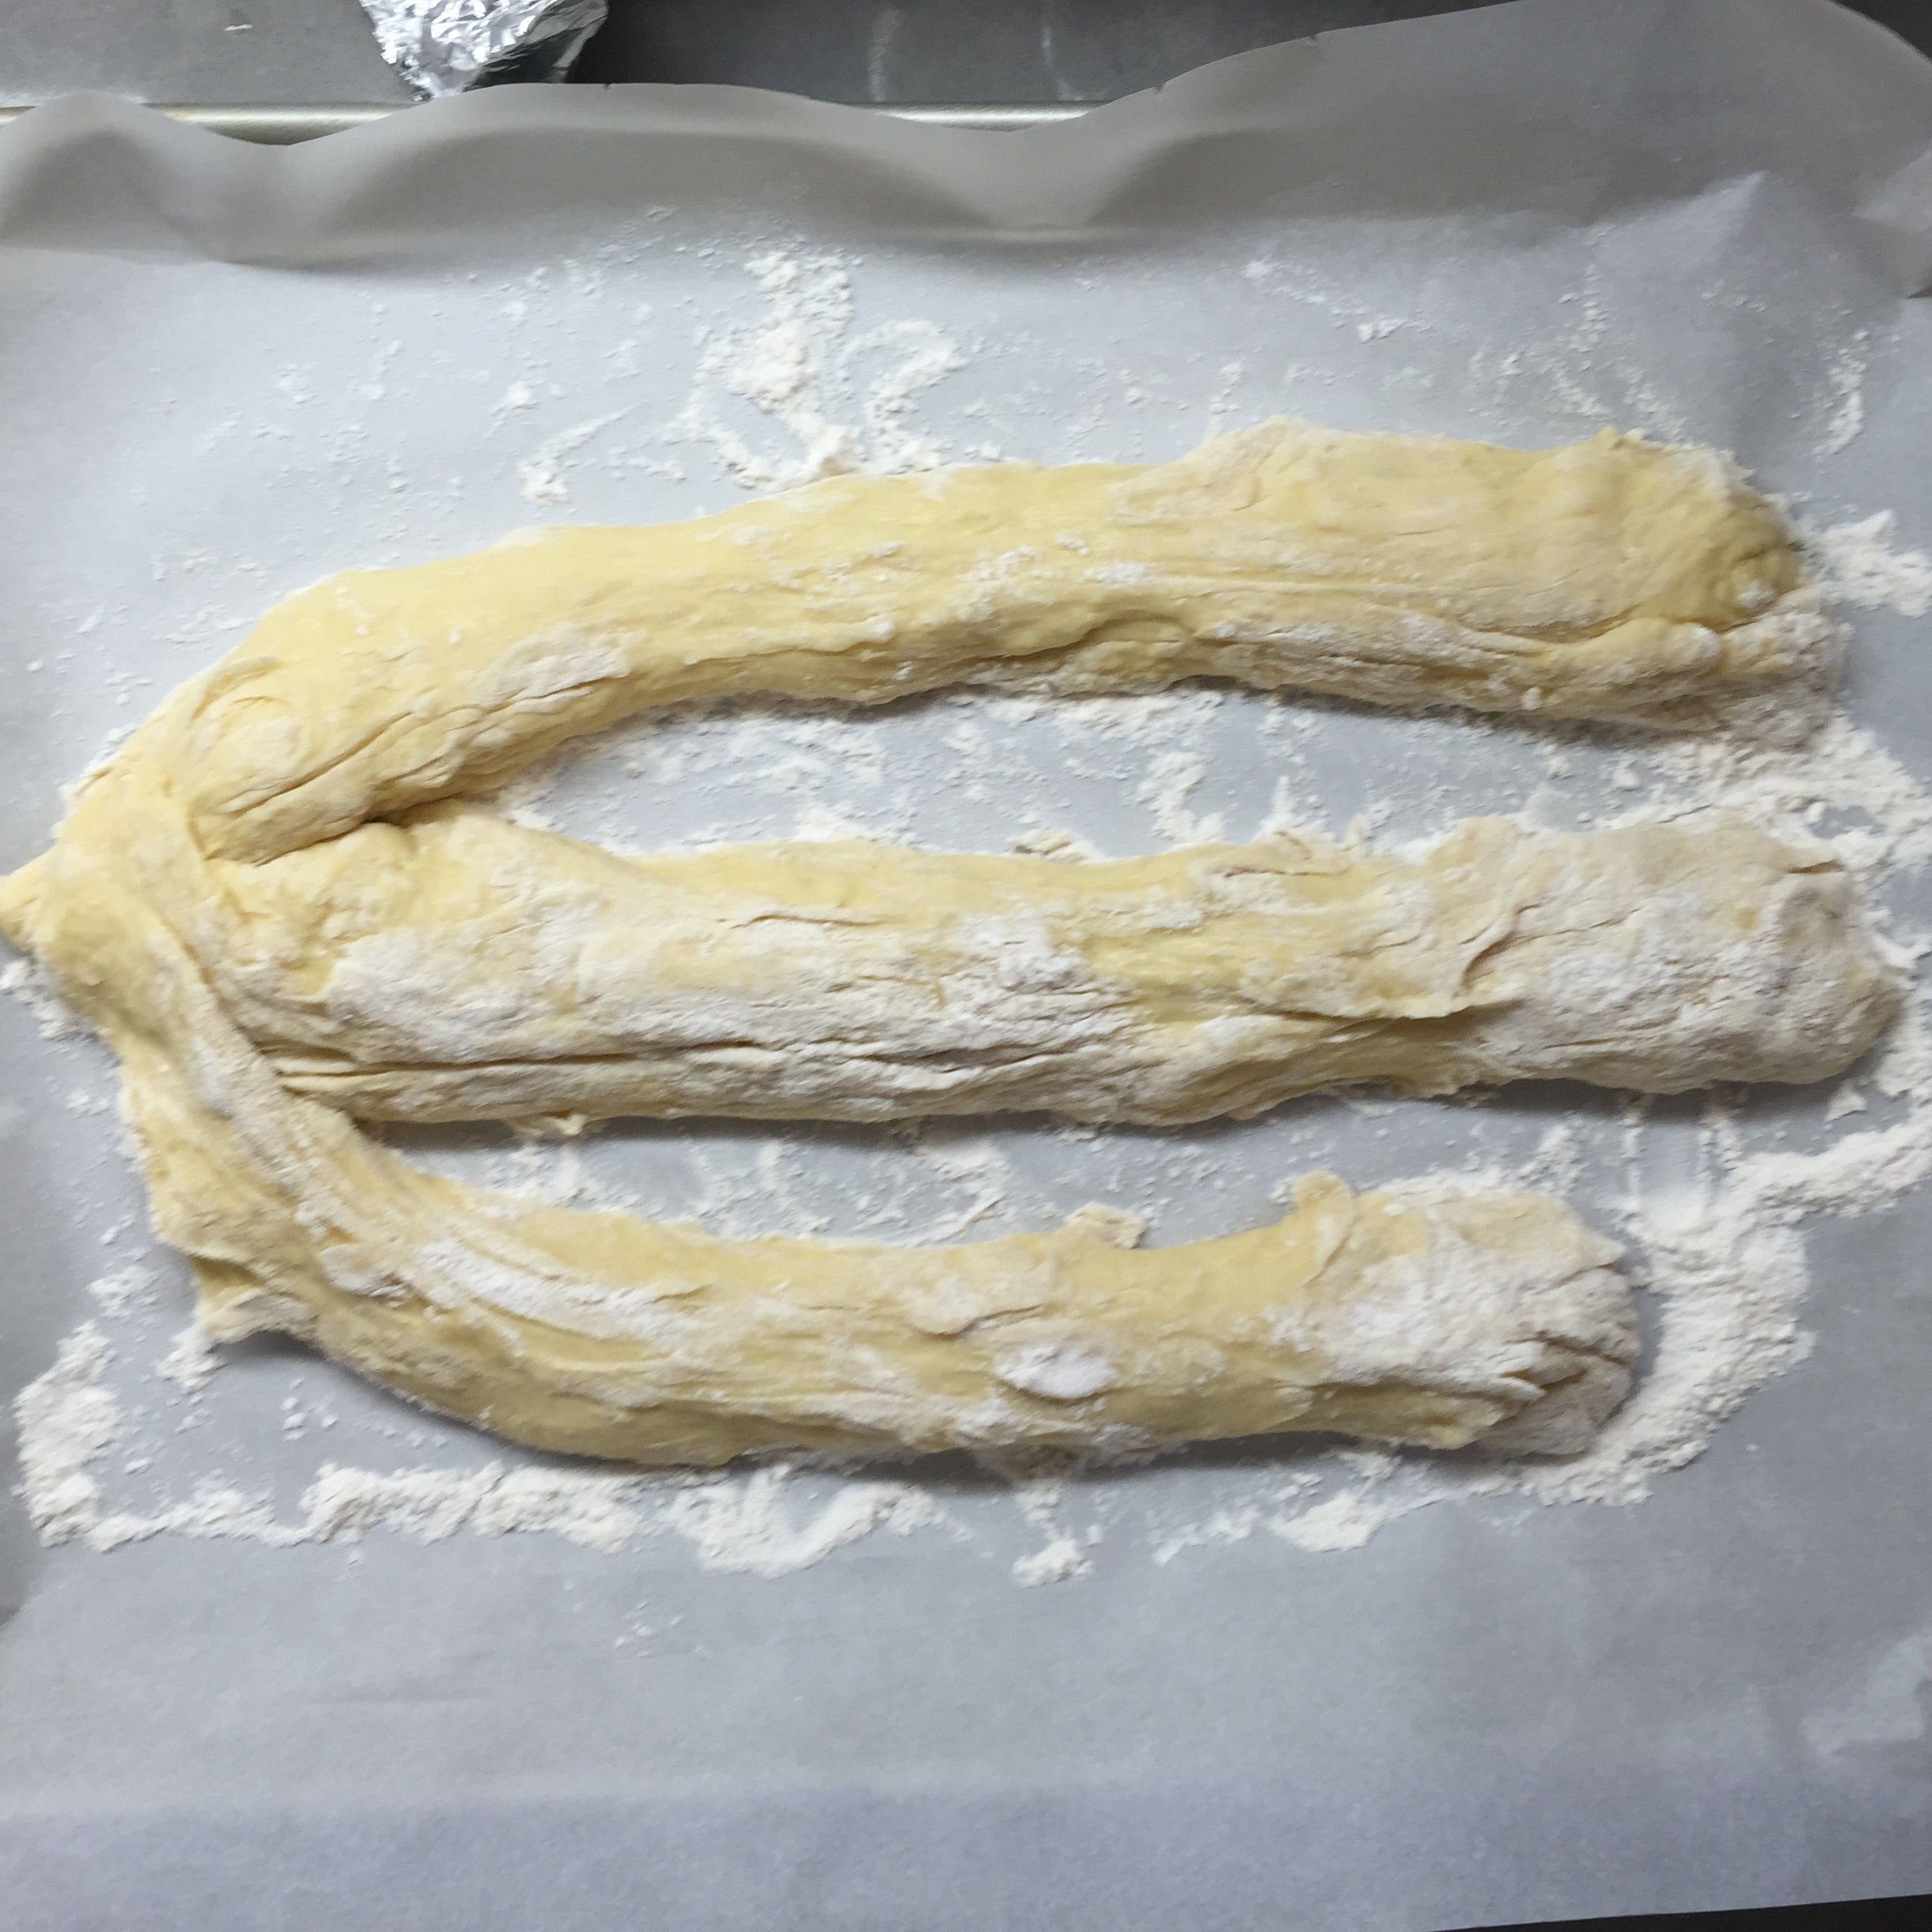
Ready to braid
13. Pinch one end of each log together and braid away!

Braided and Ready for rise #3
14. Cover the beautifully braided dough with Saran Wrap and set aside for the third and final rise – Wait 45 minutes
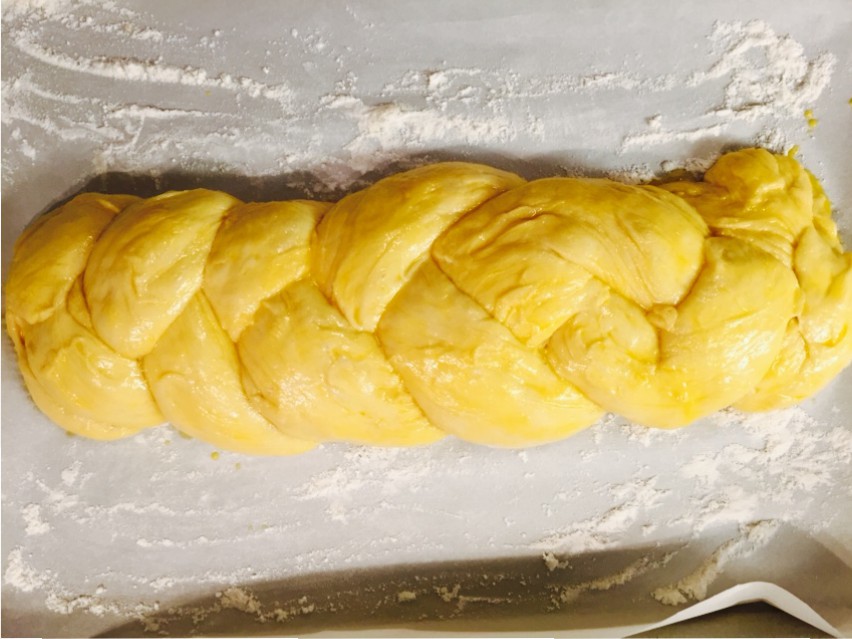
Risen, butter brushed and Ready to Bake
15. Preheat the oven to 375 degrees
16. Remove the Saran Wrap from the bread and brush it with butter before placing in the oven
17. Bake for 20 – 25 minutes or until the internal temperature of the loaf is 190 degrees.
18. Slice and Eat!
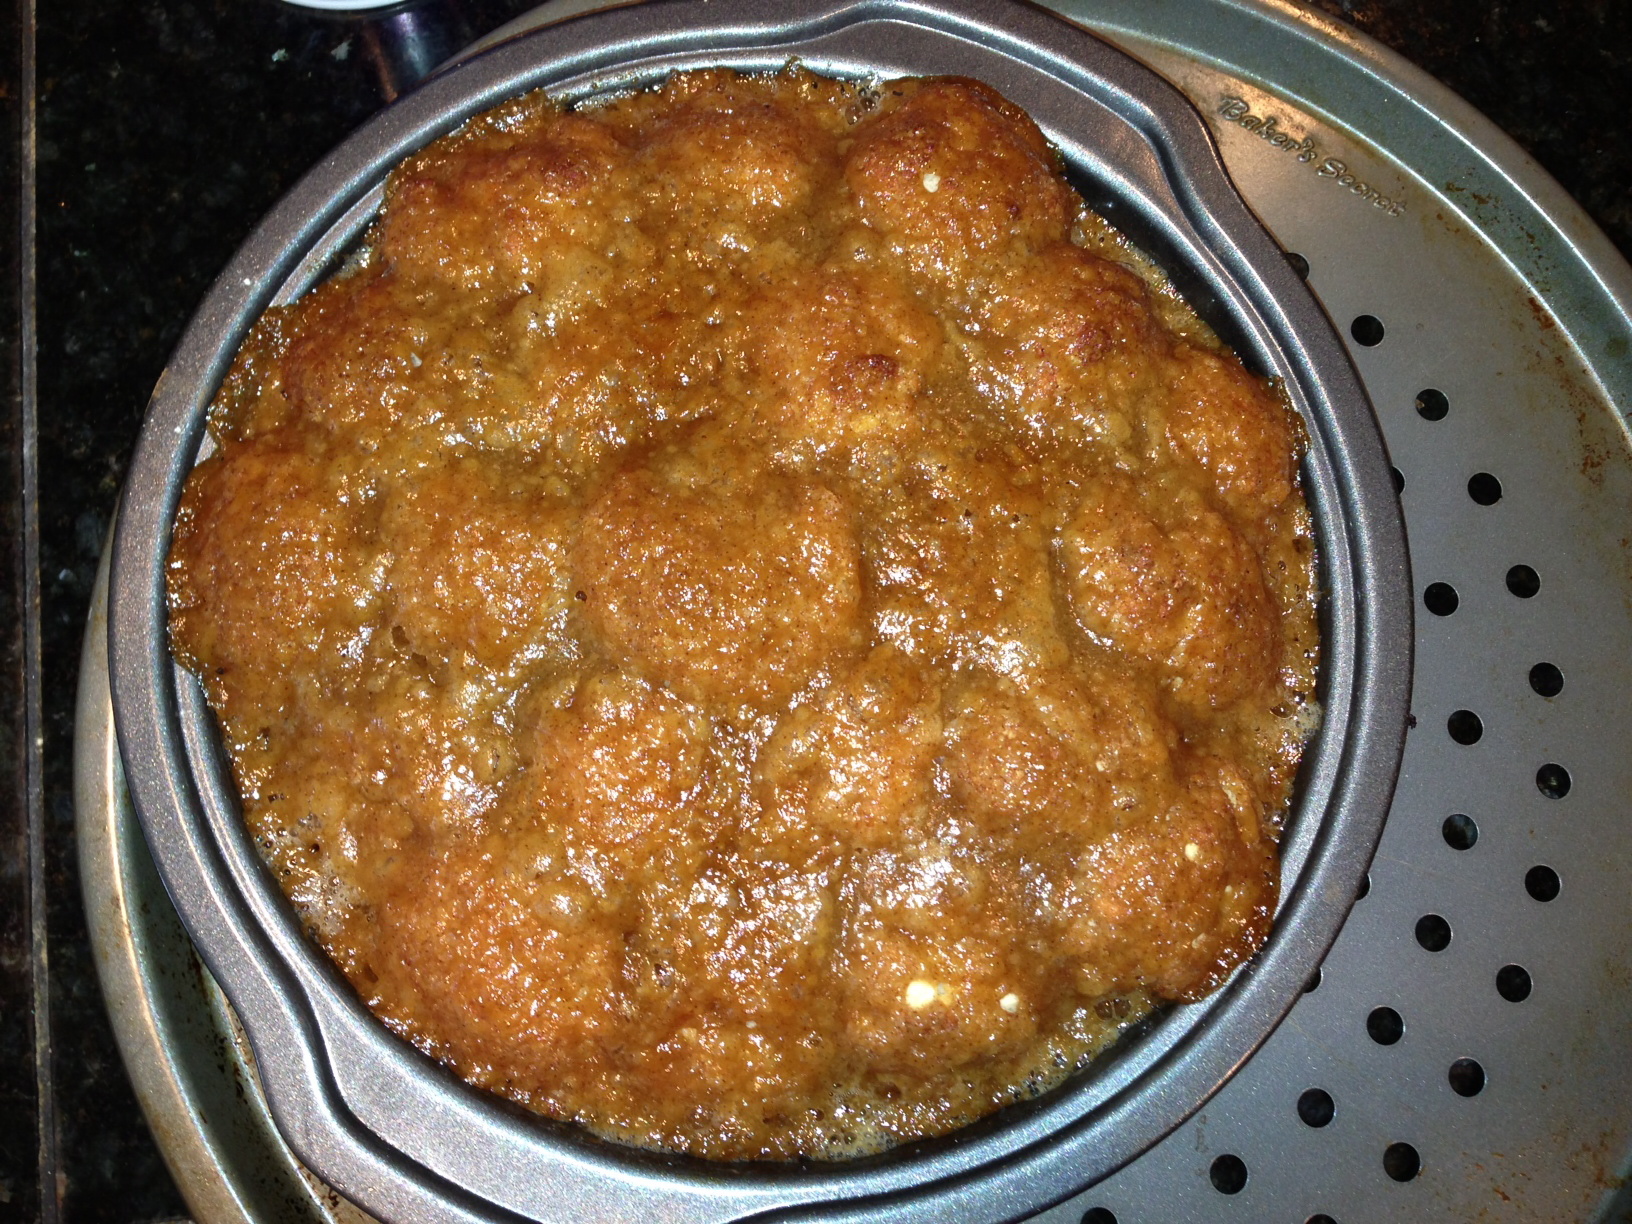
Braided Easter Bread
This tasty bread takes some time but is well worth it. And, while I’m no artist – I think the braiding is impressive. I mean it’s no miracle – but, this Easter weekend it did rise three times.
I’m still not sure what I believe (sorry Mom). But, when I question what it all means I always revert to the wise albeit boozy words I heard so long ago – No matter how you slice it, Jesus was a really good guy, who said a lot of really good things that lasted a really long time. Much longer than this sweet Easter bread will last, indeed.