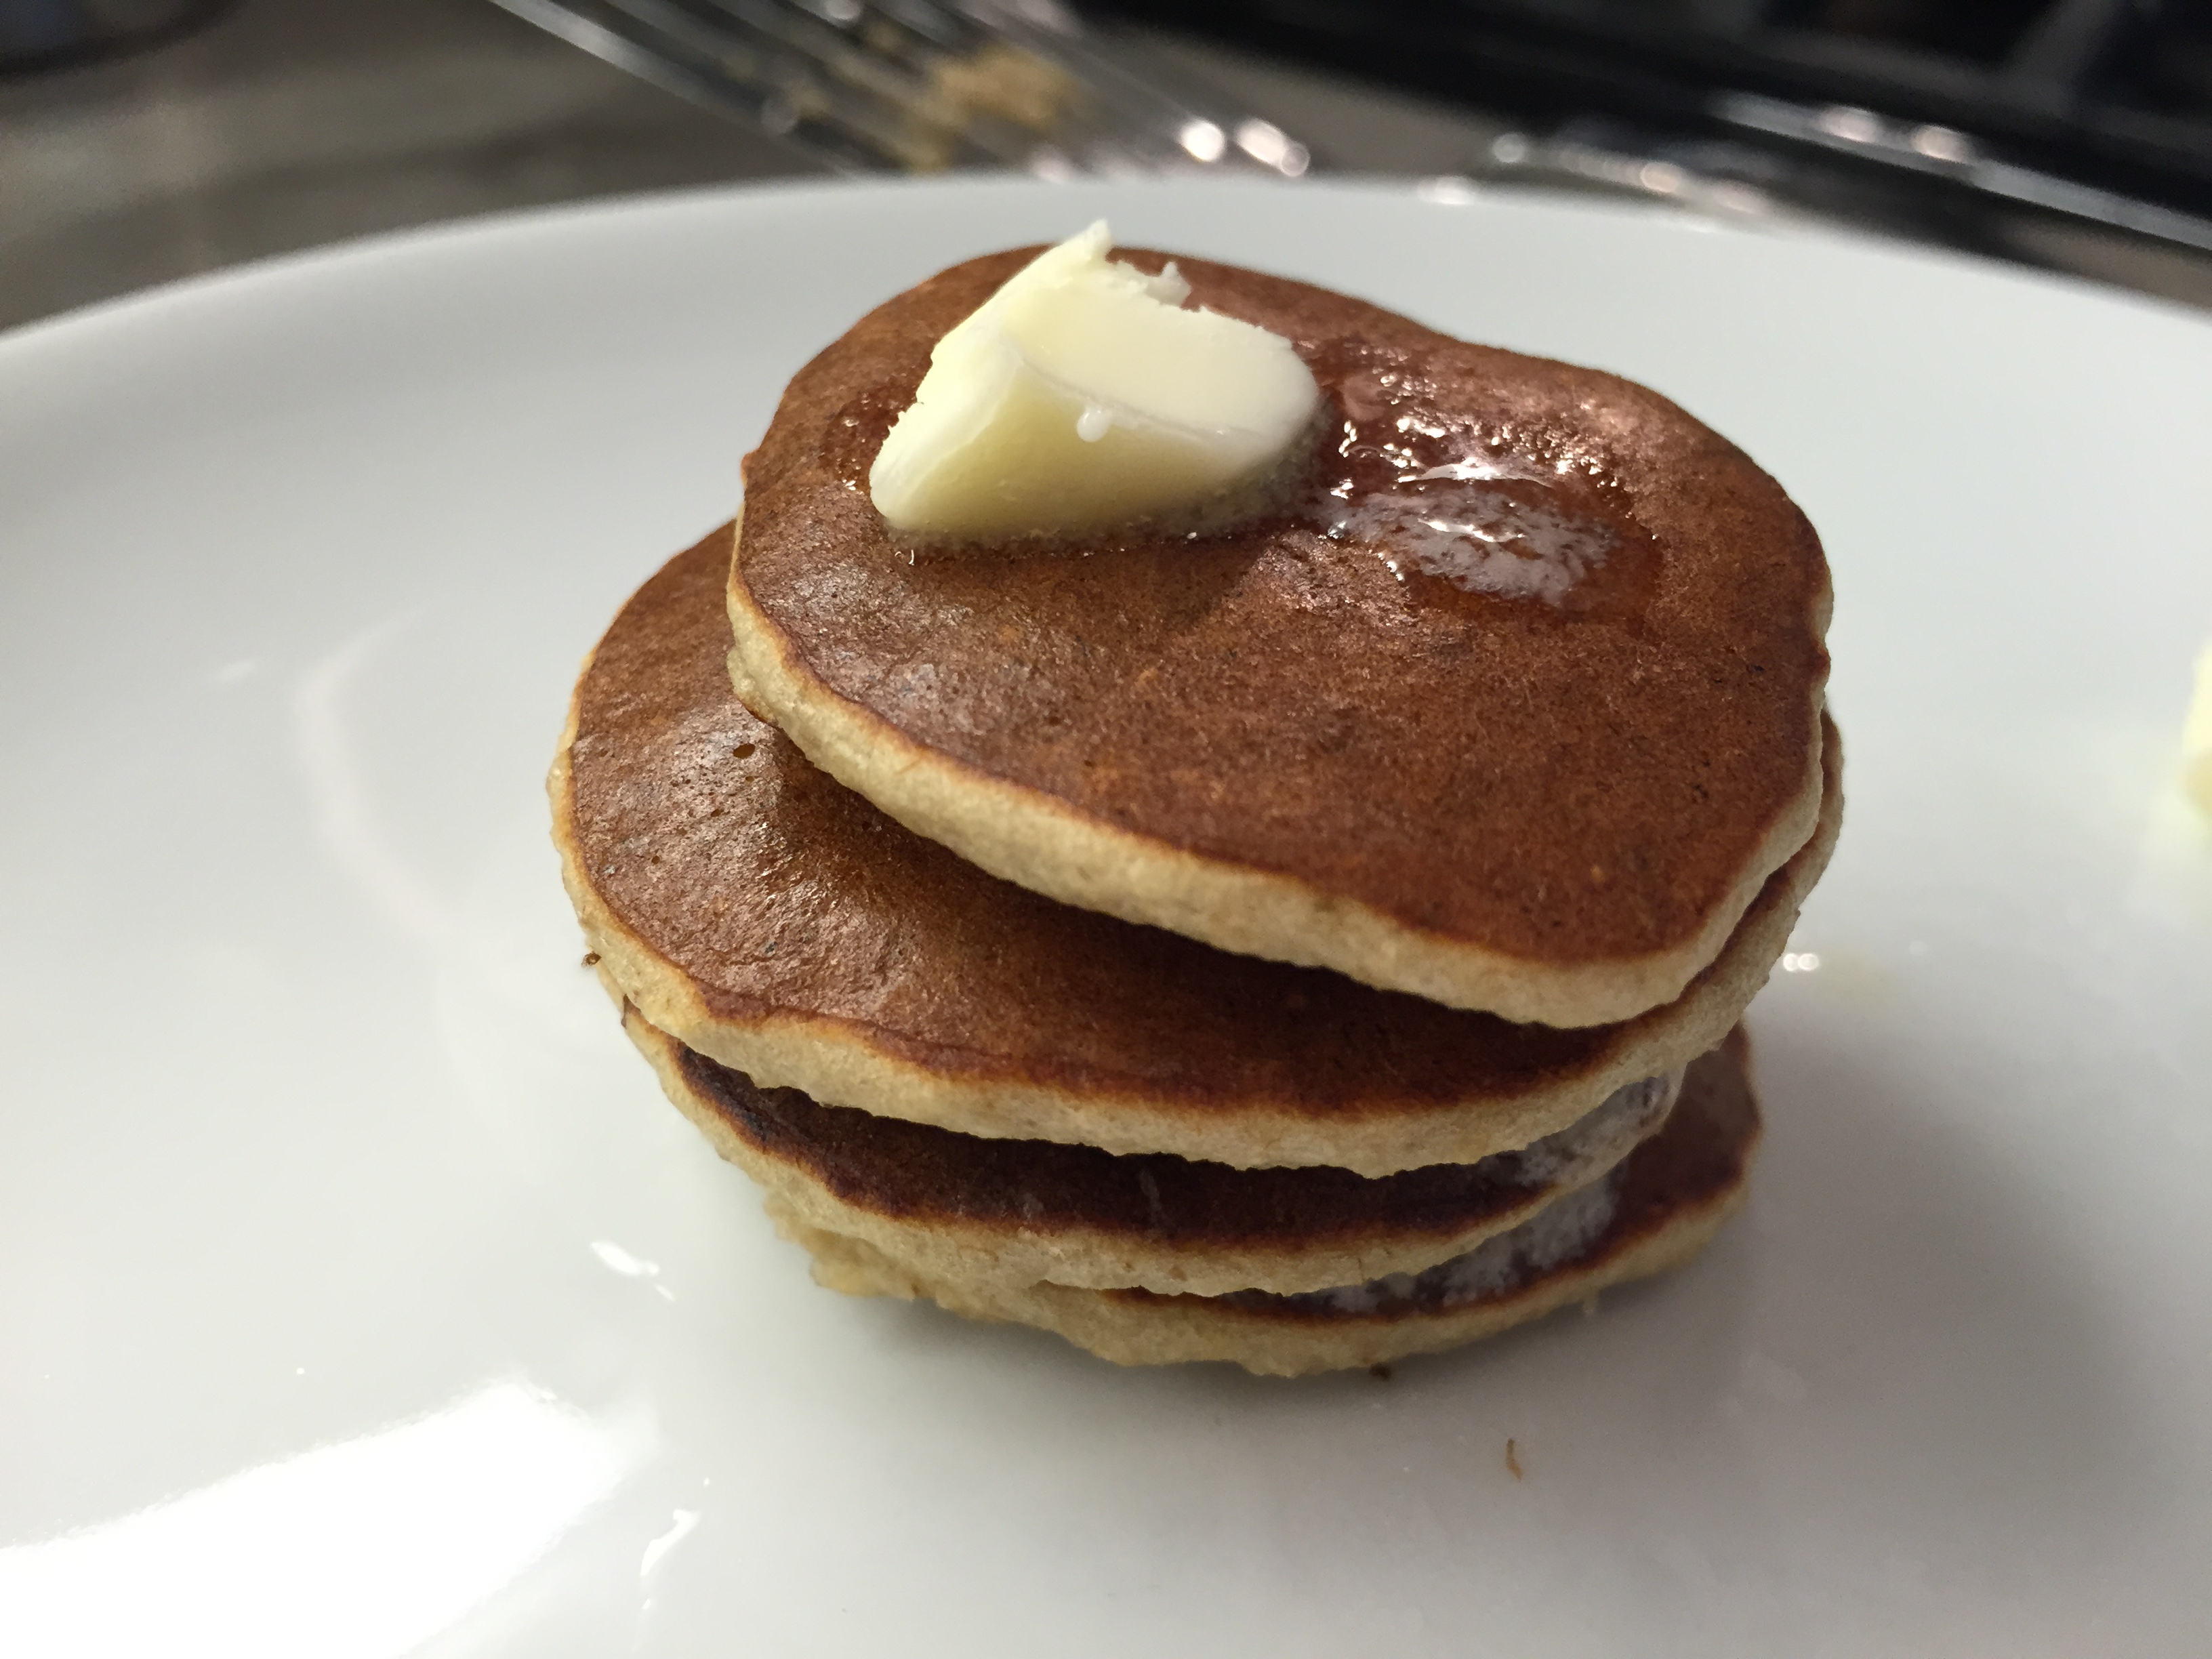
Pan-Fakes: Banana Oatmeal Pancakes

oatmeal banana pancakes, healthy pancakes

Looks like pancakes

Most of us have an alias that we use when say, ordering a latte at Starbuck’s or making a dinner reservation. Some may even have a fake name they use when meeting unwanted suitors out at a party or bar. Mine used to be Sylvia. I don’t know why, just was.

One of my best friend’s alias’ is Mimi Henderson – sounds like her real name, but isn’t -long story for another post. Fake-Name Mimi has two young boys and she likes to cook healthy for them. Like she made their baby food from organic-only ingredients when they were tiny little people. So, during my last visit when I went to her cupboard and found organic wheat or whole grain or something ‘pancake mix’ – I shouldn’t have been surprised. Moreover, when I prepared the ‘pancakes’ using said mix, I wasn’t surprised when the children did not enjoy them…not even one bite of a bit. They were icky, grainy, cardboardy and not like pancakes at all.

So, before my next trip to see Mimi and the boyz – I set out on a quest for a better fake pancake. And, I gotta tell you – these oatmeal, banana, healthier, non-dairy pancakes are pretty great.

Tiny Apartment Tips:

  1. Once you’ve blended and rested the batter in your KitchenAid blender, soak the pitcher immediately! The Quaker Oats get stuck to the sides and are tricky to remove.
  2. If you choose to serve with real maple syrup – please heat the syrup up – nothing worse than cold syrup on warm pancakes…even if they are fake
  3. Select perfectly ripe bananas as these will contribute to the creaminess of the pan-fakes

Pan-Fakes, The Healthy Dairy-Free Breakfast Treat (serves 4)
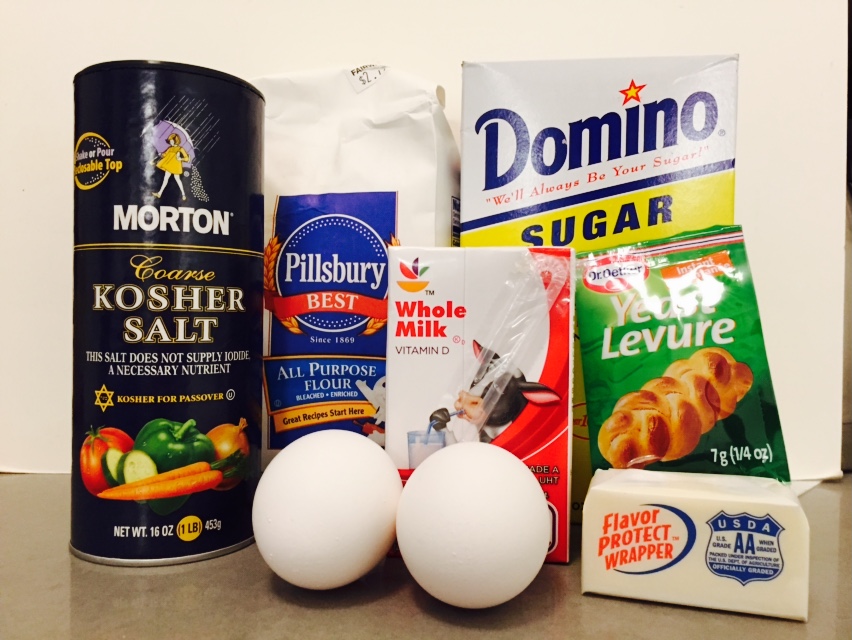
Ingredients:

  • 2 Bananas – you want them perfectly ripe – not green, not brown

    quaker oatmeal pancakes banana pancakes

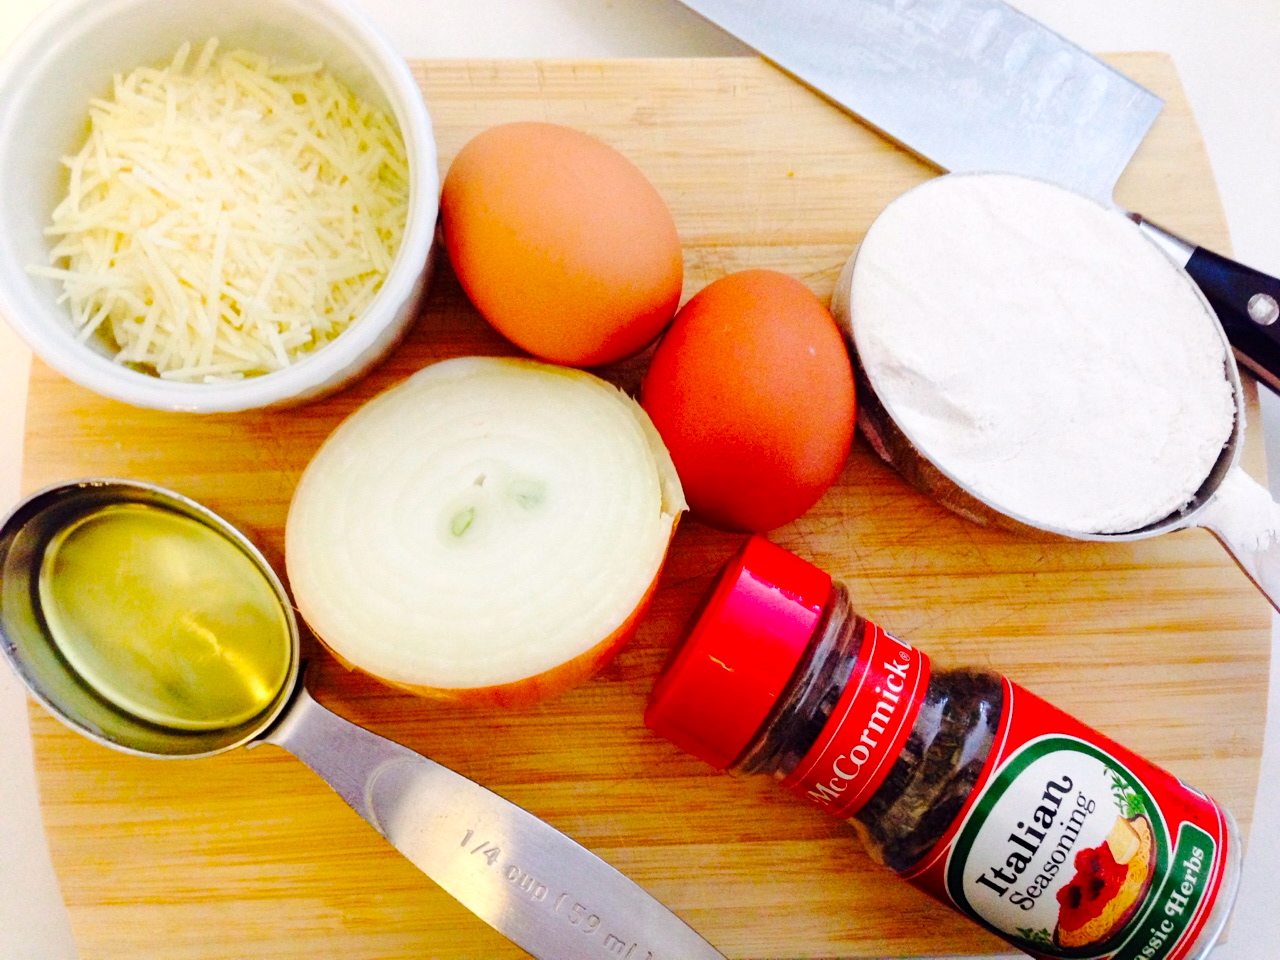
    Real Ingredients for PanFakes

  • 2 Eggs
  • 1/2 Cup Quaker Oats – I have this giant container of quick 1-minute oats which are perfect
  • 1/2 Teaspoon Baking Powder – not the same as Baking Soda


Preheat a non-stick skillet over medium/low. A 10 or 12 inch All-Clad one is perfect.

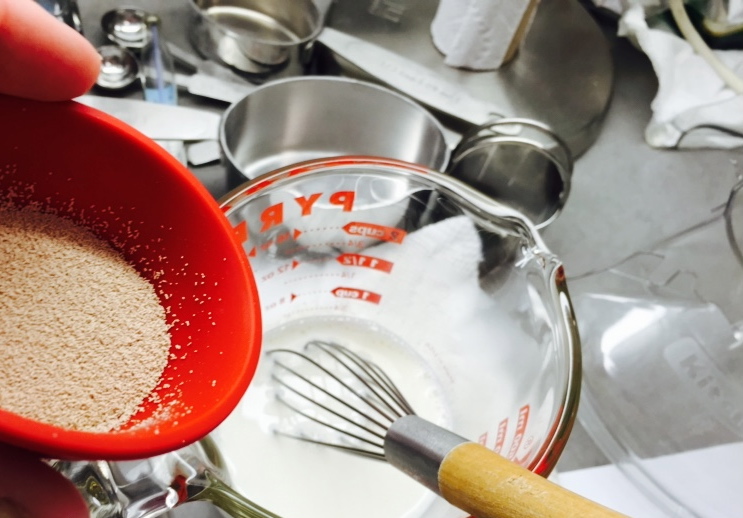
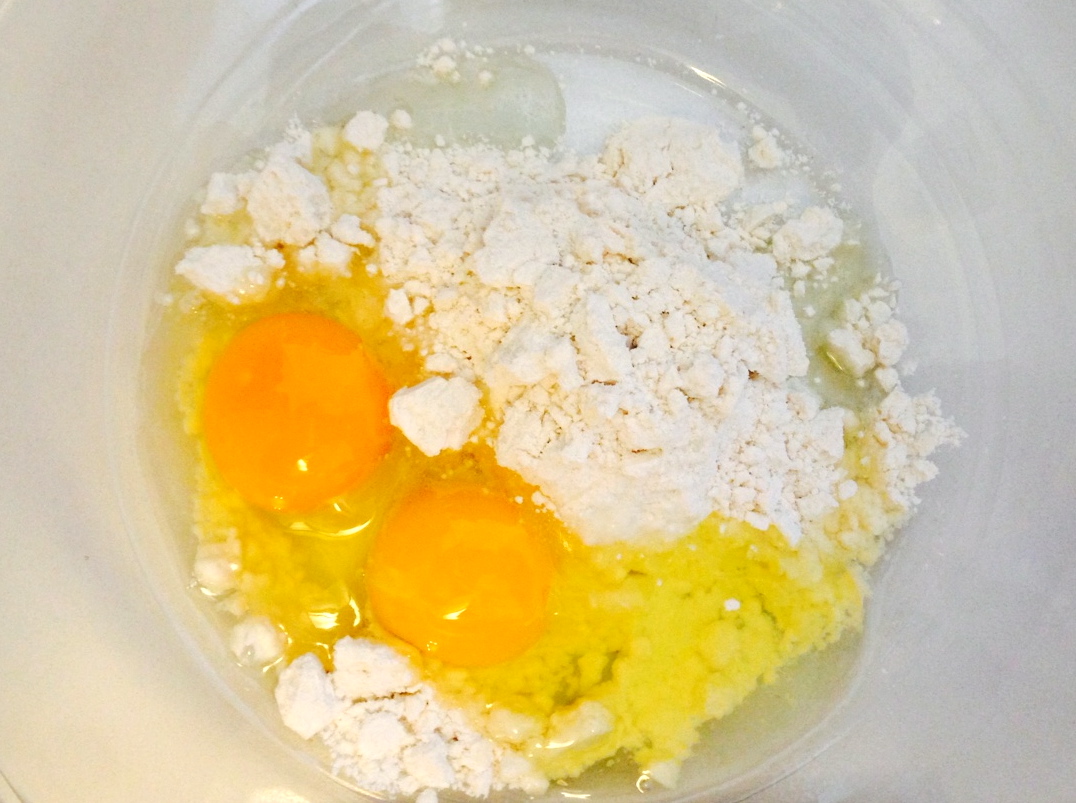
  1. Put all of the ingredients in a blender. I have an awesome KitchenAid blender – powerful thing it is!
kitchenaid blender non-dairy pancakes

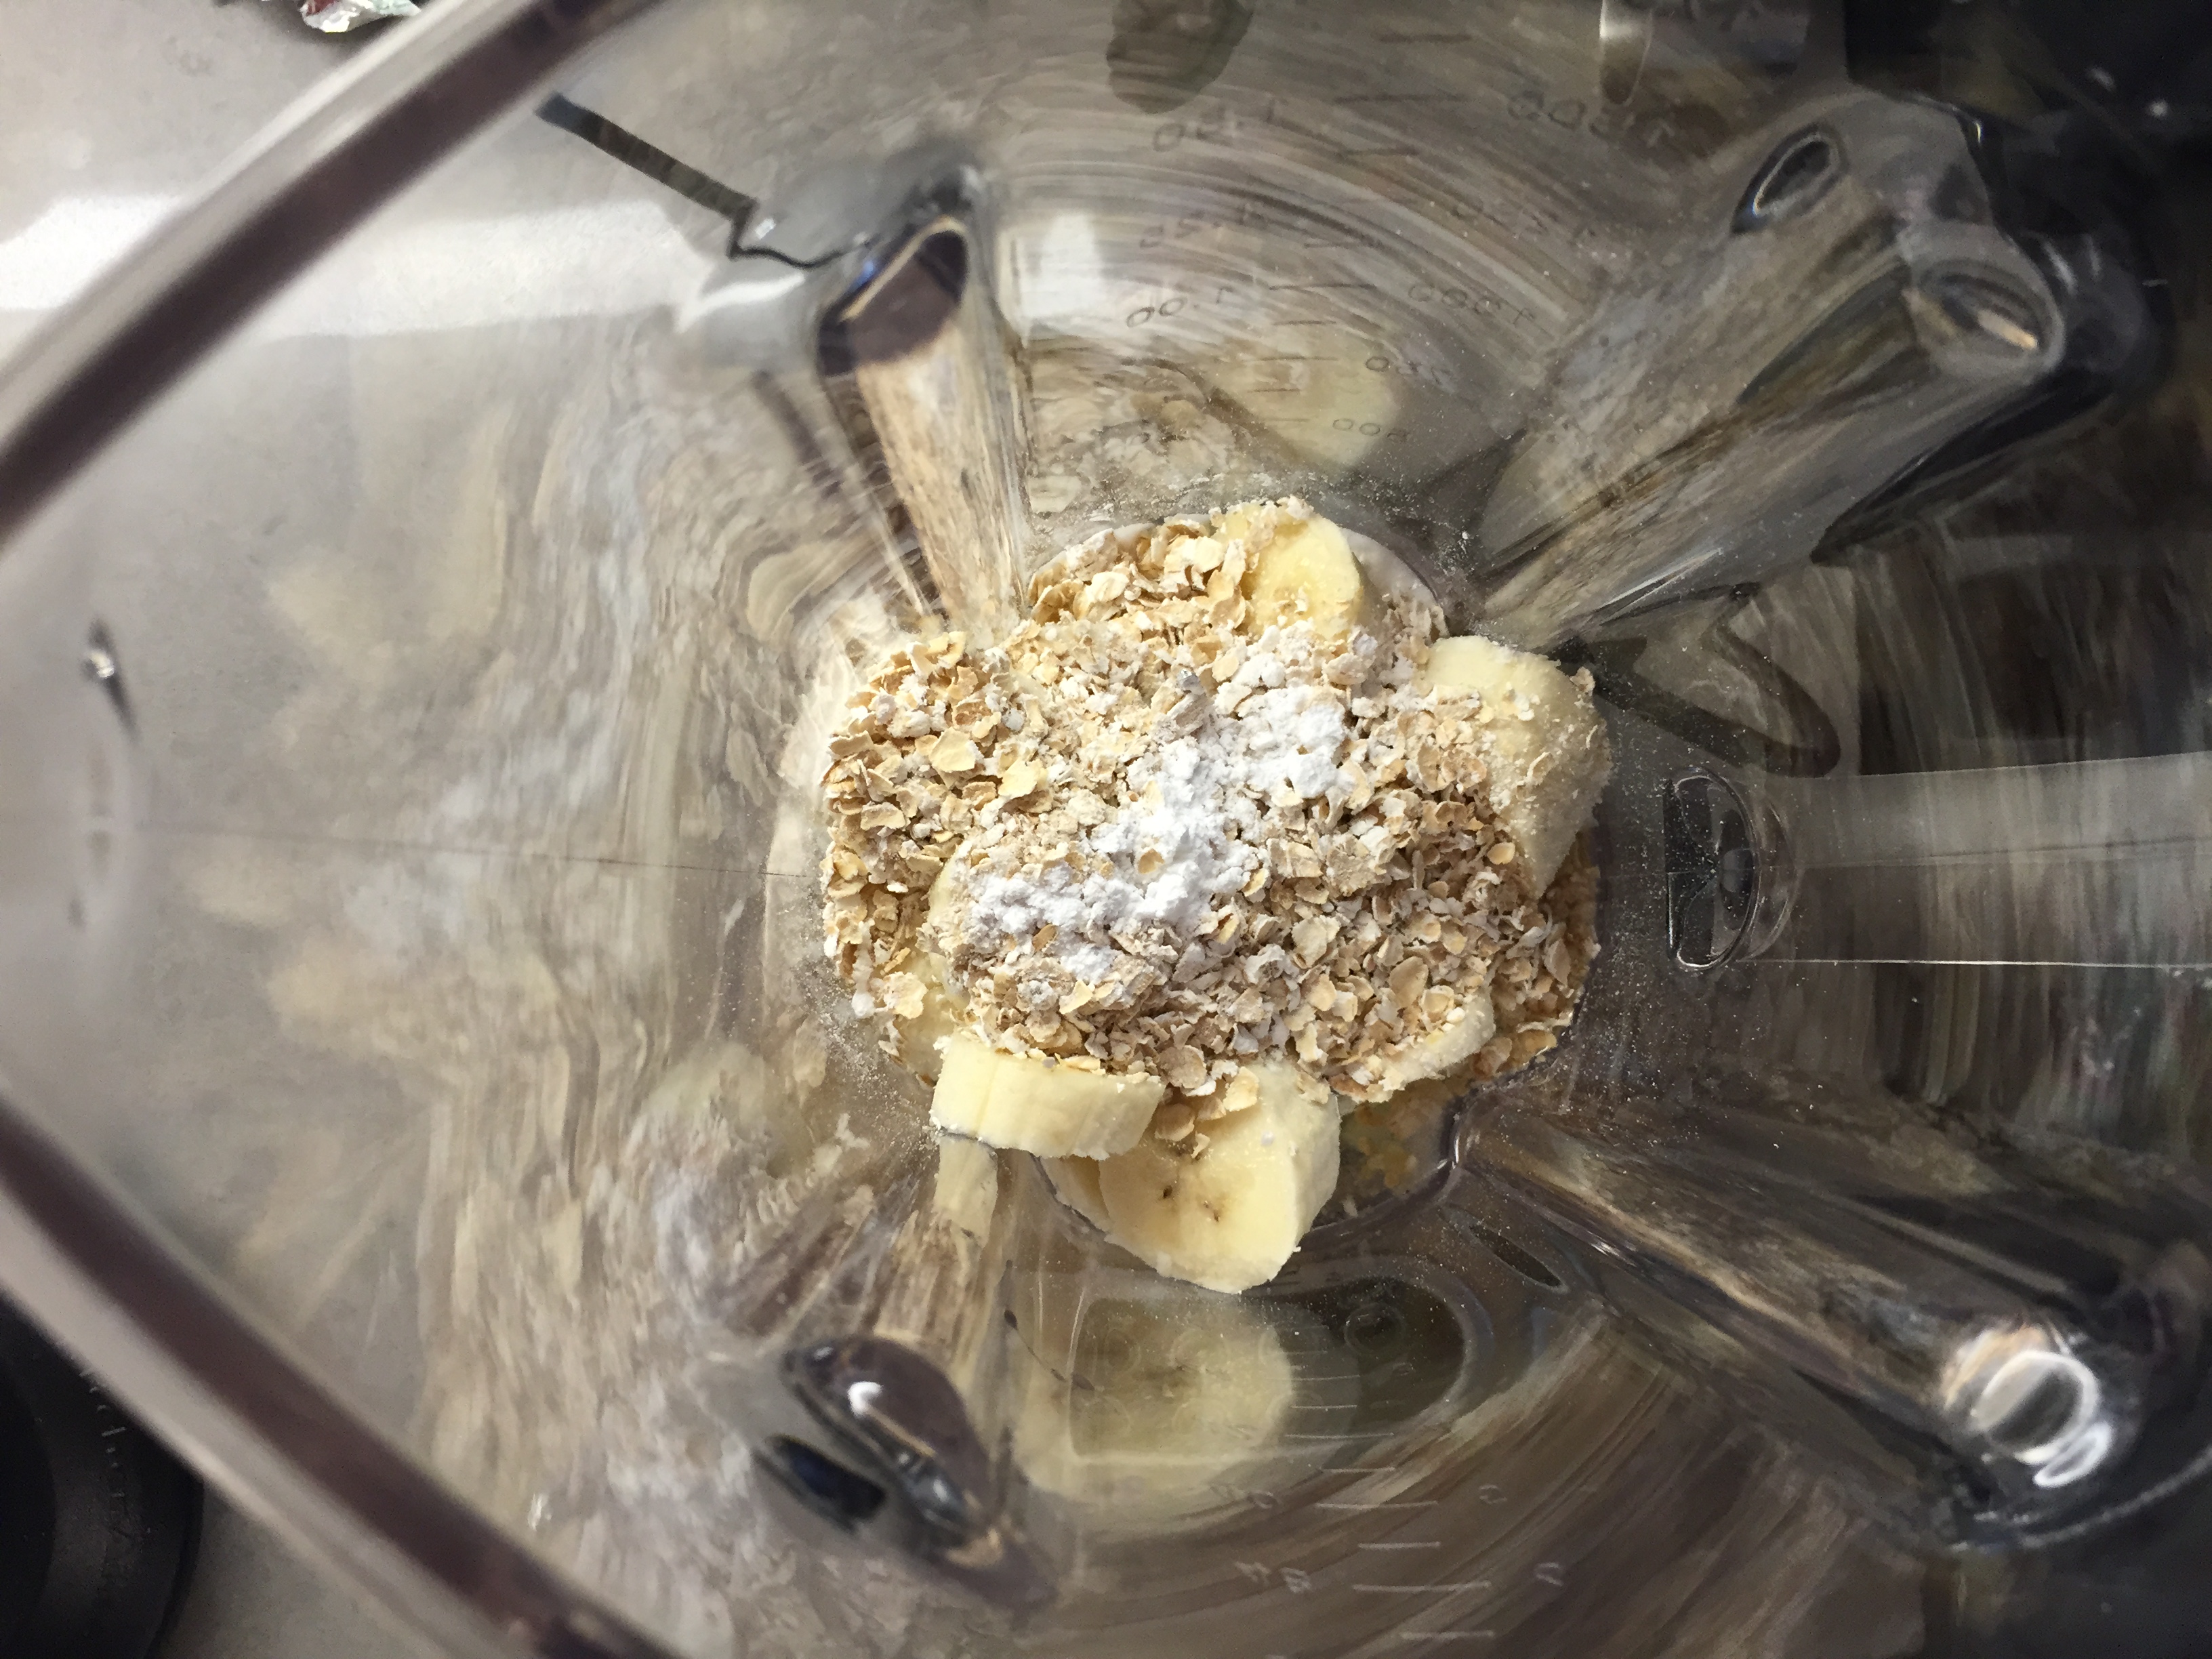
In a KitchenAid blender Fake stuff happens

2. Blend…Use the mix setting first to combine everything and then use the puree setting to completely breakdown the little pieces of oats. I mean if you’re gonna fake it, fake it well.

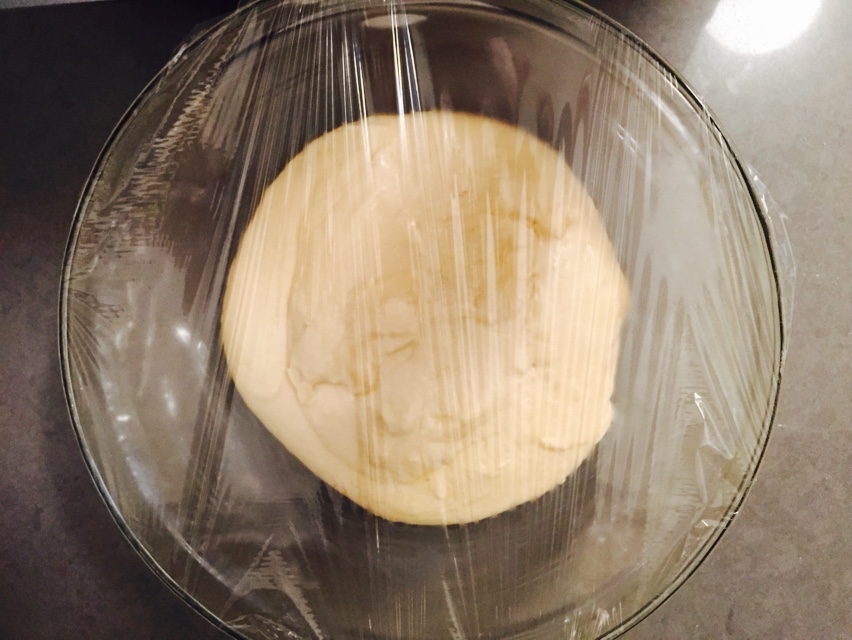
3. Once blended until creamy and lump-free, let the batter sit for 15 minutes – it thickens during this resting period
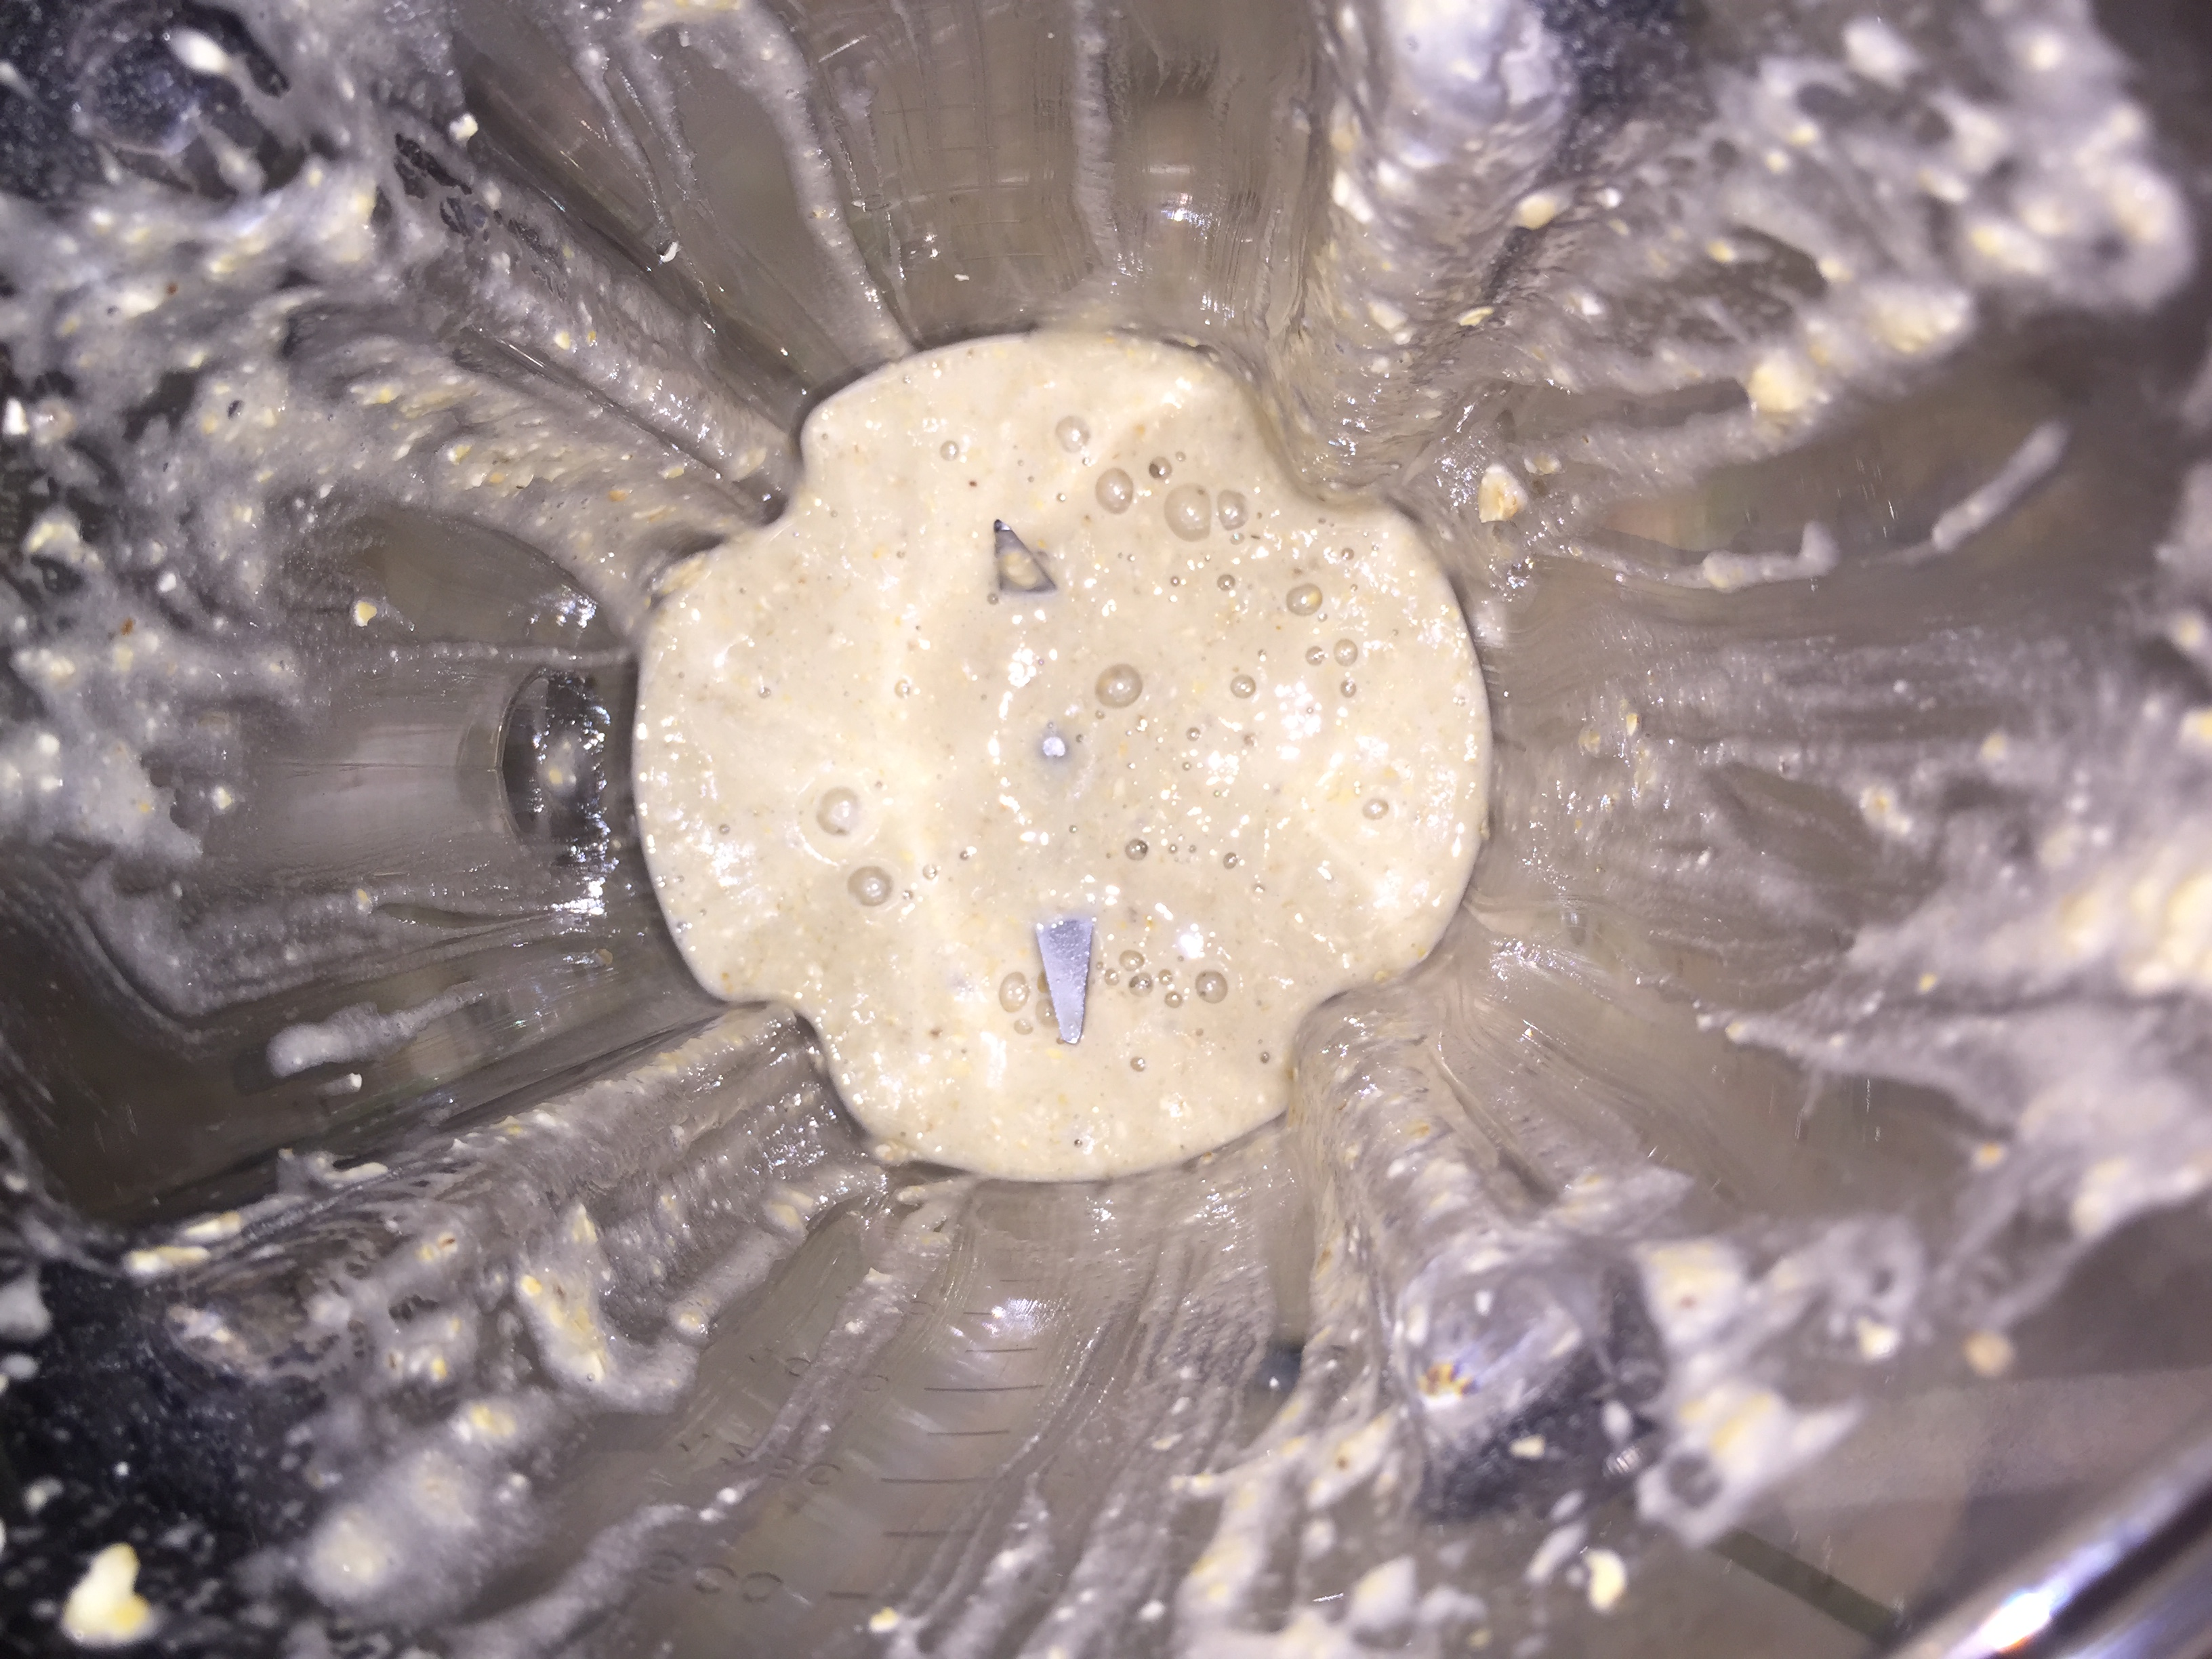
gluten free pancakes breakfast

Super Blend it!

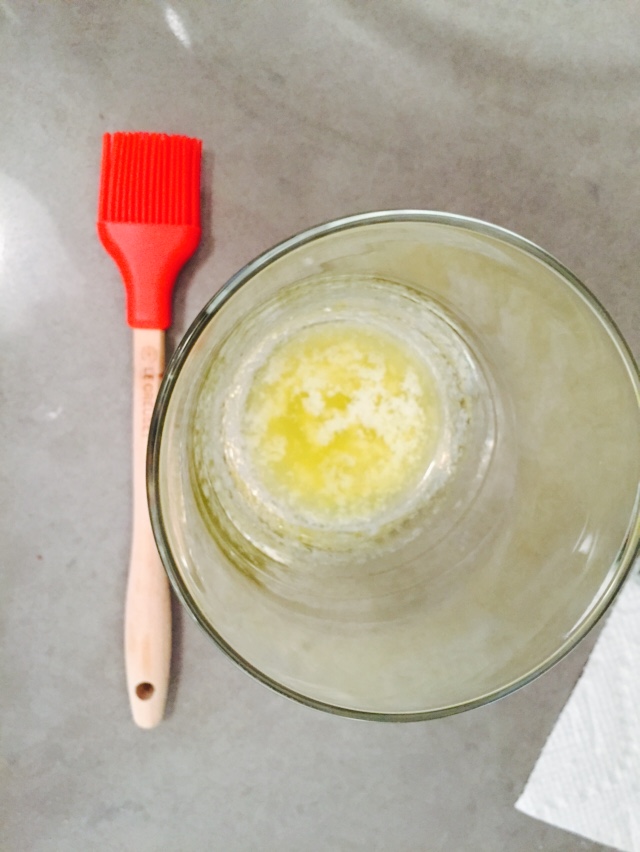
4. After the resting time – ladle into a non-stick pan. No need for spray or oil.

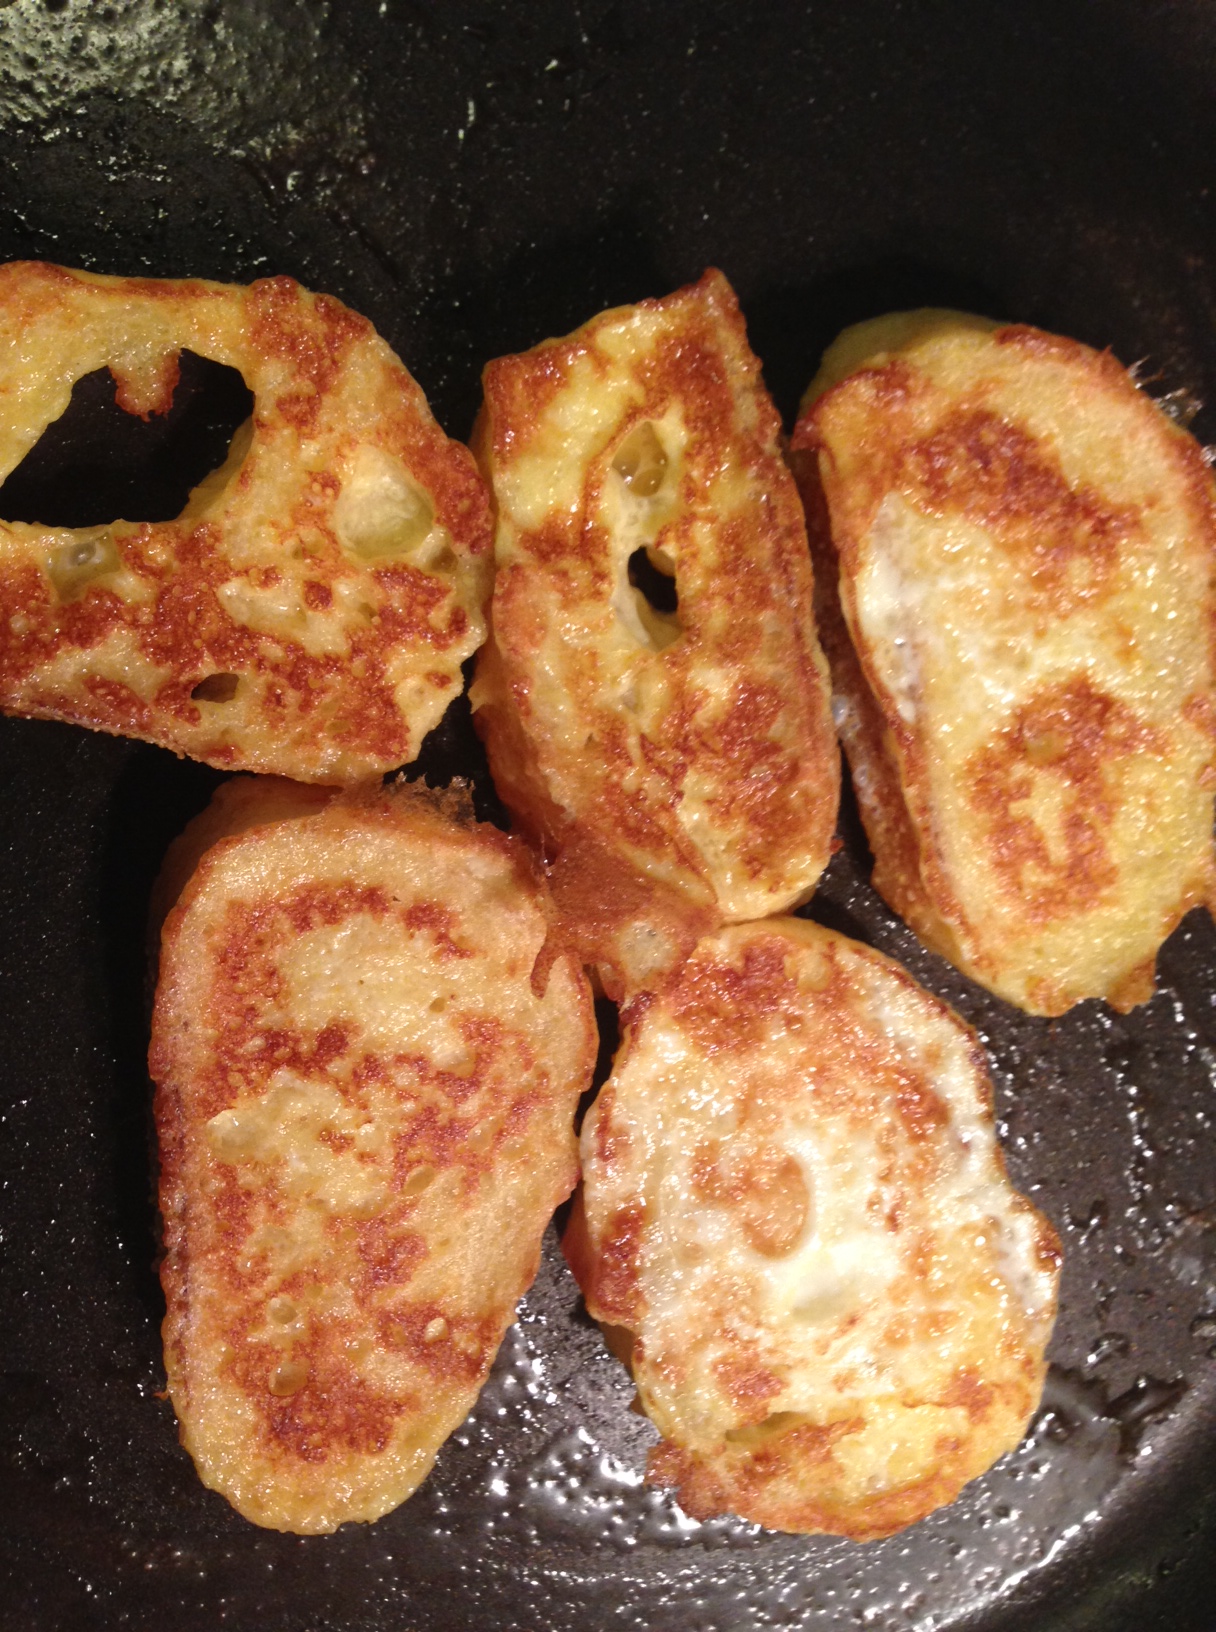
5. When the fake cakes bubble and dry around the edges, flip ’em. Another benefit to these fake cakes is that the first batch is pretty.

6. Continue to cook about a minute more until done.

gluten-free pancakes recipe

Unlike real pancakes – the first batch is pretty!

7. Serve with fake butter if that’s your jam…But, I figured it was fake enough already so I smothered with real butter and pure maple syrup.

healthy pancake recipe

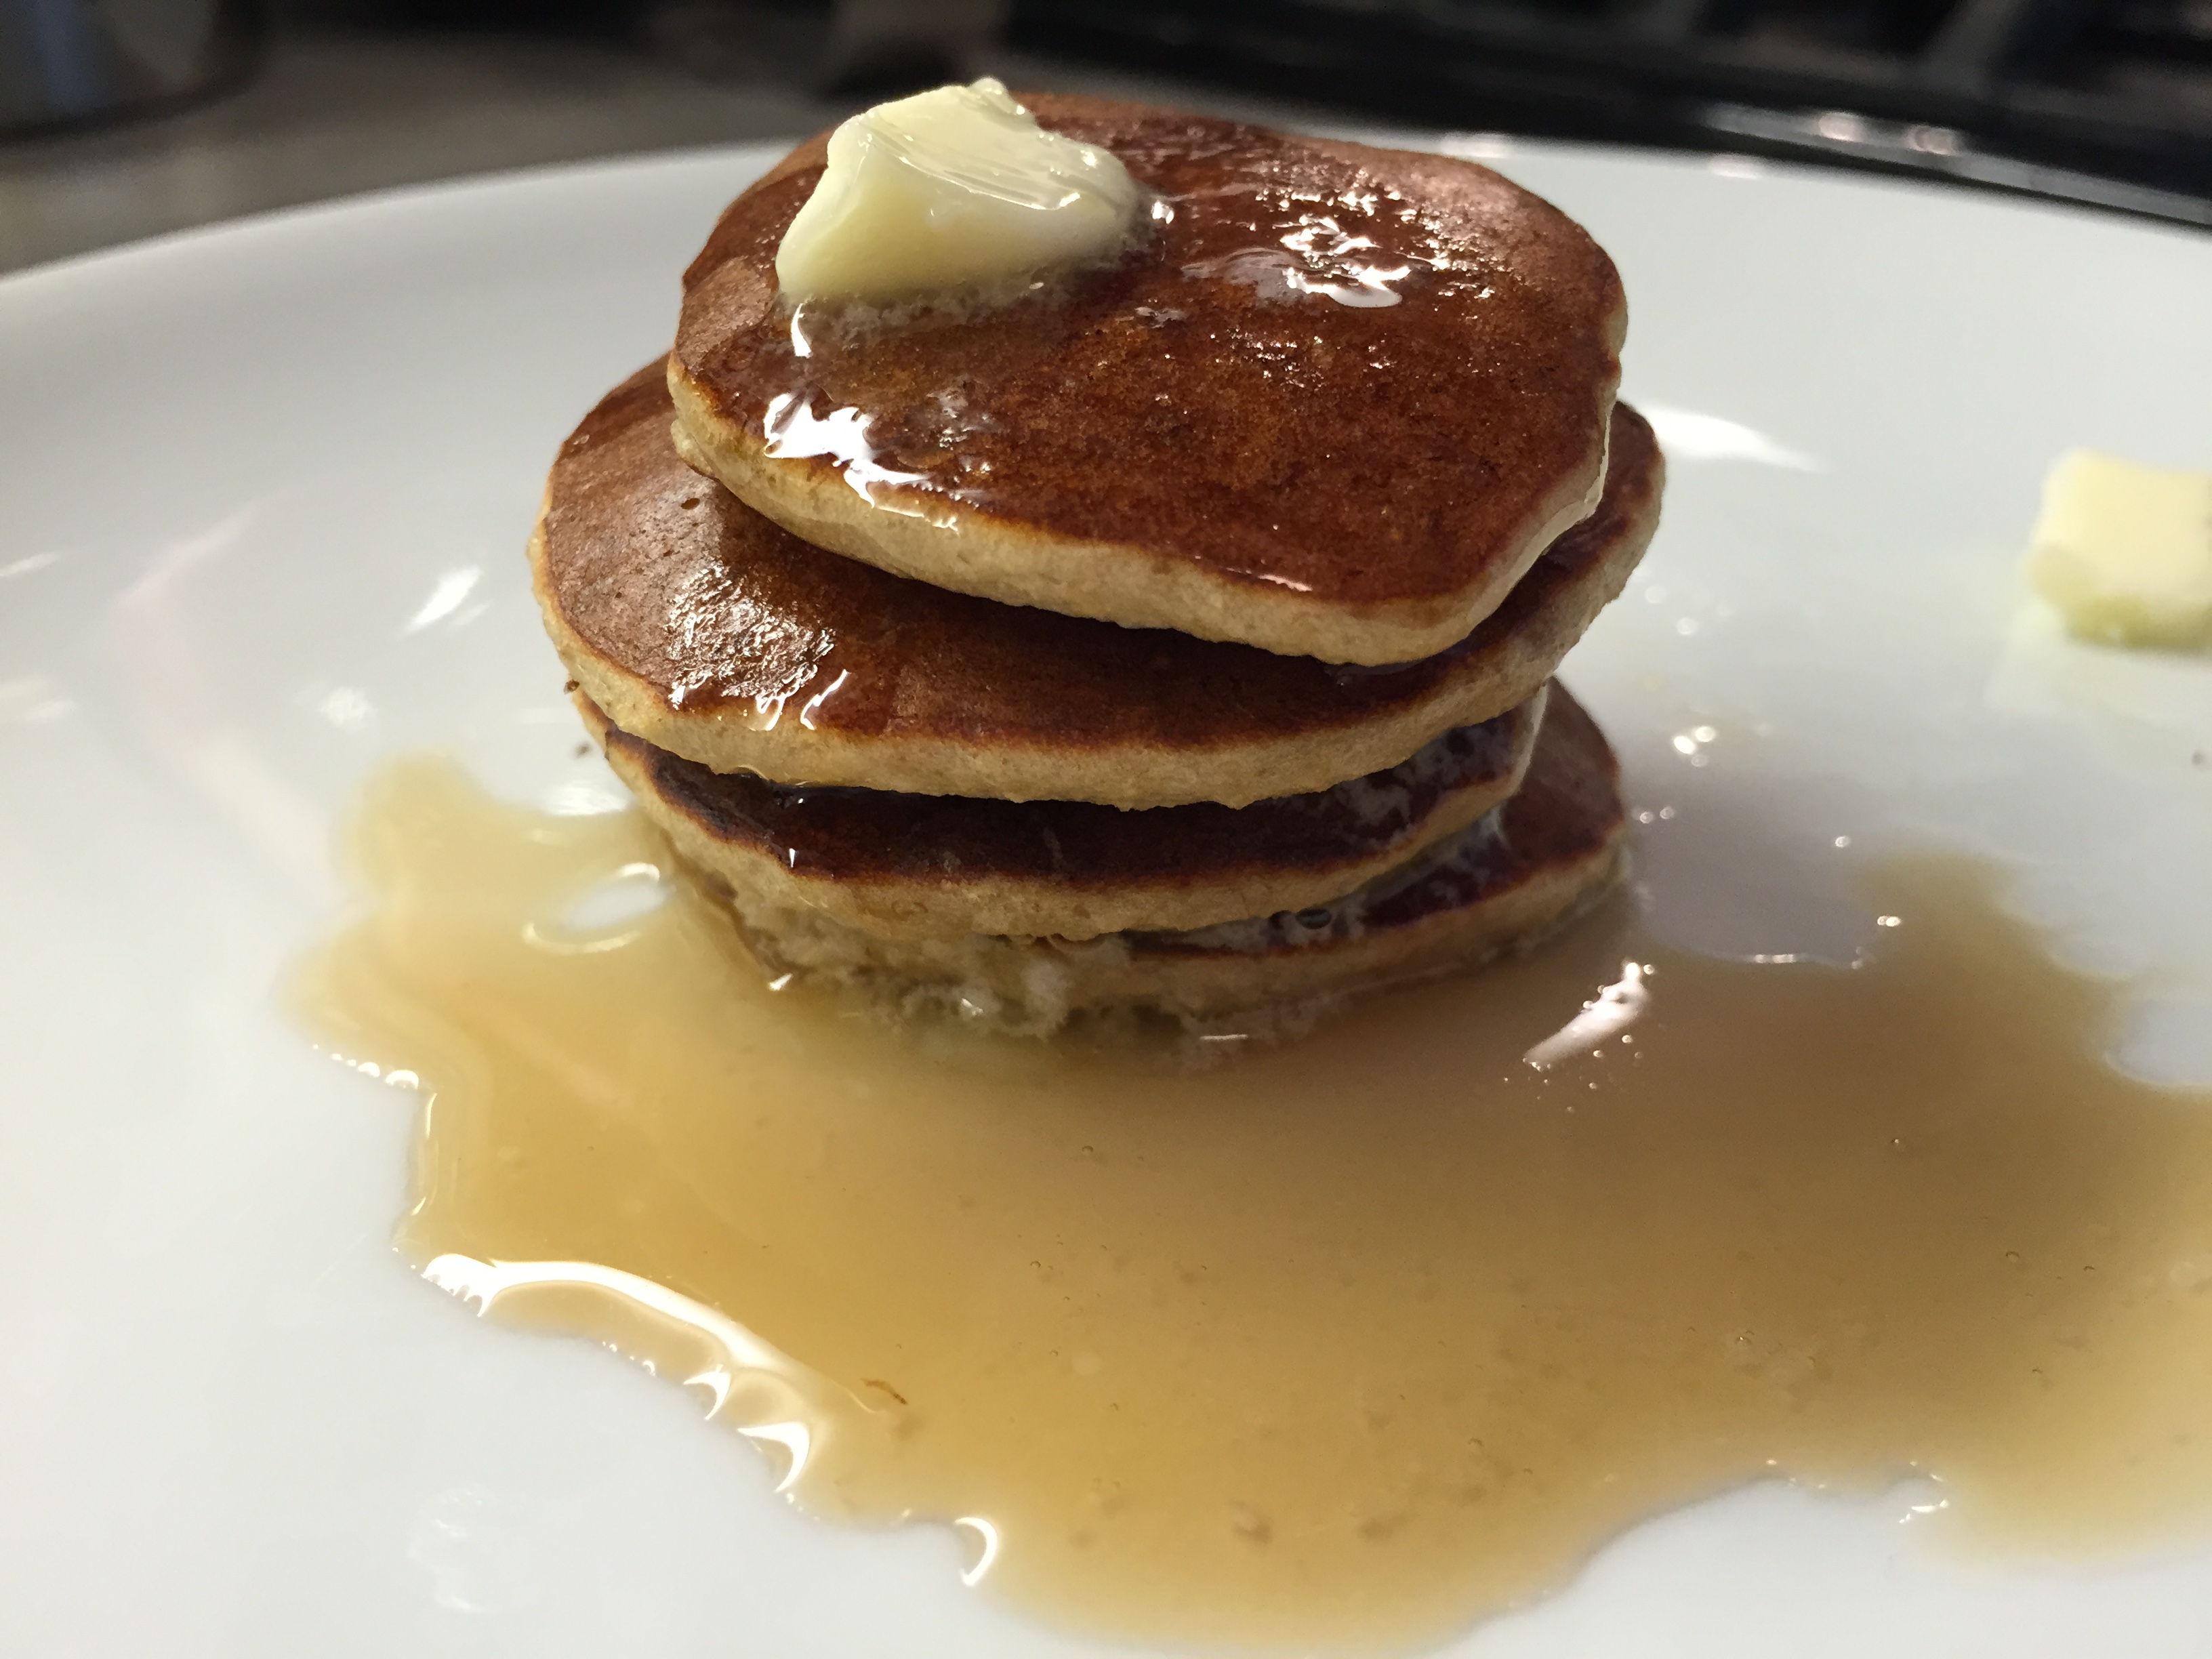
Of course…I served with REAL butter and syrup


Eating healthier isn’t usually my thing – but I do like to test out a good fake. And, the next time Sylvia goes to see her bff, Mimi Henderson, Mimi’s boyz can finally have a PanFake they’ll enjoy.


Advertisement

Rise Up x3! Sweet Braided Easter Bread

bread, baking, easter

Braided Easter Bread

As Easter approaches, many of us ponder our faith. And, since this year Passover and Easter coincide, more of us are taking time to think about what it all means.

I went to a super Catholic university somewhere in the middle. Like a school where students were encouraged to attend any one of the 26, yes 26, masses held between Saturday at 4:30pm and Sunday at 6pm. A university where the Old Testament was studied as a history and taught (at the time) by the sole interpreter of the Dead Sea Scrolls. A school where a gentleman caller might ask you on a date to mass – this was a big deal.

Back then, the student body was pretty homogenous – I think it was something in the neighborhood of 90+% Christian and of that over 80% Catholic. Being surrounded by mostly Catholics and beer, oh and nickel purple passions, led to some more than riveting late night philosophical discussions and revelations about Jesus.

One such late night post purple passions or quarter beers we engaged in the most philosophical of all discussions about God and Jesus. So many questions. We all wondered was Jesus really the son of God? Did he really rise from the dead?

After much discussion, my very wise roommate summed it up perfectly for all of us. She said: I don’t know if Jesus was the son of God or rose from the dead. All I know is that Jesus was a really good guy who said a lot of really good things that lasted a really long time.

Makes sense.

One thing that I am certain will rise – and rise three times – is this sweet, braided Easter bread.

Tiny Apartment Tips:

  1. Clean as you go and reuse your prep bowls – you can temperate your eggs in the same measuring up that you used to measure your flour
  2. Active Yeast and Instant Yeast can be used interchangeably – I know because I Googled it
  3. Set aside enough time as while Jesus took three days to rise, this bread requires 90 minutes to rise and then 45 minutes to rise again

Sweet Braided Easter Bread (serves a whole bunch of people of any faith)

Ingredients:

  • 2/3 Cups Whole Milk – since I don’t drink milk, I keep little Stop and Shop single serve milks on hand – they last forever in your pantry until opened, and then a few days in your fridge
  • 5 TBSPs of Sugar – I use Domino Sugar – always have, always will
  • 1 3/4 TSPs of active dry yeast…but I couldn’t find that – so used Instant Yeast. Also – 1 3/4 TSPs is LESS than 1 packet…so, yes, you have to measure it out
  • 2 Large Eggs at room temperature – you must temperate your eggs
  • 2 1/3 C of Flour– now, the recipe actually called for 2 3/4 Cups…but I screwed up and used less – it was all fine – there was math, but an Easter Miracle made everything OK
  • 1 TSP Kosher Salt – because we welcome all religions – The Morton Salt is good and less expensive than those designer Kosher brands…
  • 1/2 C = 1 Stick unsalted butter softened and sliced…I only had salted butter so I just used less Kosher Salt
  • Some melted butter
that's all you need for an Easter miracle

that’s all you need for an Easter miracle – I didn’t even realize that the Yeast package was using my photo of perfectly braided bread

1. In a small sauce pan, gently heat the milk over a low flame to 115 degrees – this happened super quick – so watch it. I used a candy thermometer, but any thermometer will do

Gently heated to 115 degrees -I used my candy thermometer to check

Gently heated to 115 degrees -I used my candy thermometer to check

2. Pour the heated milk into a 2 Cup measuring cup and stir in 1 TBSP of sugar and add the yeast – check out my awesome tiny Le Creuset rubber prep bowl! Whisk it all together.

baking bread recipe easter

Adding Instant Yeast (use like Active Yeast) from little rubber Le Creuset prep bowl

3. Add the eggs one at a time and whisk together

Make sure your eggs are at room temp!

Make sure your eggs are at room temp!

4. Once combined – set aside and wait for the first rise – the yeast will activate and make the mixture all foamy – this takes about 5 – 7 minutes

Rise #1 - foam forms

Rise #1 – foam forms

5. In the mean time – combine the flour, remaining 4 TBSPs of sugar and salt in the bowl of your KitchenAid stand mixer with the bread attachment. This was the debut for my bread attachment!

I've never used the bread attachment before. Love my KitchenAid!

I’ve never used the bread attachment before. Love my KitchenAid!

6. Pour in the foamy once risen mixture and begin to mix over medium speed

Wet into dry - always

Wet into dry – always

7. Slowly – one pat at a time – add in the butter

I love these Land O' Lakes 1/2 sticks. Butter must be softened and sliced.

I love these Land O’ Lakes 1/2 sticks. Butter must be softened and sliced.

8. Jack up the mixer to medium/high and let the kneading begin – knead on med/high for 5 minutes or until the dough is soft and smooth!

Silky Smooth! Sticky, but silky smooth

Silky Smooth! Sticky, but silky smooth

9. Transfer the dough into a bowl brushed with melted butter.

Love my little brush

Love my little brush

10. Brush the top of the dough with even more butter, cover and set aside for the second rise – about 90 minutes in a warmish place – Dough should double in size – makes me wonder – did Jesus get bigger?

patience, bread recipe, easter

Rise #2 – brushed with butter and covered. Now, wait for it….

11. After the miracle second rise has occurred – Put some flour in a tiny bowl and dip your hands in! The dough is sticky- so flouring your hands will help.

12. Divide the dough into three equal parts. Form each into a long loggish shape and set on a cookie sheet, lined with parchment paper and lightly floured. Now, since I didn’t use enough flour from the get go – I was more generous with the flour here.

Ready to braid

Ready to braid

13. Pinch one end of each log together and braid away!

Braided and Ready for rise #3

Braided and Ready for rise #3

14. Cover the beautifully braided dough with Saran Wrap and set aside for the third and final rise – Wait 45 minutes

Risen and Ready to bake

Risen, butter brushed and Ready to Bake

15. Preheat the oven to 375 degrees

16. Remove the Saran Wrap from the bread and brush it with butter before placing in the oven

17. Bake for 20 – 25 minutes or until the internal temperature of the loaf is 190 degrees.

18. Slice and Eat!

bread, baking, easter

Braided Easter Bread

This tasty bread takes some time but is well worth it. And, while I’m no artist – I think the braiding is impressive. I mean it’s no miracle – but, this Easter weekend it did rise three times.

I’m still not sure what I believe (sorry Mom). But, when I question what it all means I always revert to the wise albeit boozy words I heard so long ago – No matter how you slice it, Jesus was a really good guy, who said a lot of really good things that lasted a really long time. Much longer than this sweet Easter bread will last, indeed.

Skeptical of Microwave Corn? Don’t Give a Shuck

corn, microwave, vegetarian

Sheath. Corn. Just that easy

My business partner (for my manderpants company) tells me I’m the skeptical one. I’m the one that asks the questions. That brings up the potential for disastrous outcomes. That reads the Yelp reviews, all of them, before we book hotels – I mean, bed bugs are a real thing, people.That may be prone to thinking something just isn’t quite right. That maybe – just maybe – Googles too much – I’m a really good Googler.

So when the microwave corn video started showing up all over Facebook and in my other social media feeds – because I follow food stuff and stuff – I didn’t really believe it. I mean, people do lie on the Internet.

I thought I had mastered the most succulent and fabulous corn the old fashioned way…a best friend who is ‘corn-psychic’ and selects perfect cobs every time, lots of shucking, big pot of water, butter and whole milk (or cream, who cares?) in the boiling water…add corn, cover, turn off heat – wait 12 mins, eat.

But this is no longer the best way. Plus, if there’s one KP job I hate – it’s shucking. I said ‘shucking’…

So…the microwave corn with no shucking at all intrigued me.

Ingredients:

Corn IN the cob – 1, 2, 22 pieces, I don’t care – ps, it was on sale at Whole Foods this week, so, bonus!

Preheat the……wait, you don’t need to do that

Fill a large pot with water….nope, not that either

1. Open the microwave. Yeah. Do that.

2. Put an ear of corn or two or three, whatever, in the microwave – DO NOT GIVE A SHUCK

corn, microwave

I just made one to test – cuz I really didn’t believe it would work – ps, look how clean my microwave is. yep.

3. Microwave on high for 3 minutes, just 3

microwave, kitchenaid, corn

It’s very hard to photograph my microwave. but you get it

4. It’s very very hot – wear an oven mitt, please…AND – Remove from microwave and cut the base off – you need to cut about a 1/2 inch into the kernel part – it’s fine, you’ll have enough corn, promise, trust me, google it.

corn, microwave, whole foods

I had to cut twice as the first time I didm’t get enough of it – see two cuts…I was proceeding in doubt and with caution

5. Hold the icky hairy top part of the corn with an oven mitt and shake it like a Polaroid picture….this is sorta the hard part – you have to really shake to get it moving out of the sheath

corn, microwave

Hold and shake – fer reels. PS, my oven mitt reminds me of Muppet hands.

6. As the corn starts to come clean of the sheath, you can assist by pulling the perfect corn with a second oven mitt

corn, microwave, vegetables

AHHHHnd…it’s working! Shock and Awe.

7. et voila – perfect corn, no sheath, no hairy stuff and you don’t have to give a shuck

corn, vegetables

Seriously, perfect. Hardest part is the shake-ification

Test was so successful, that I zapped two more ears and made magical toasted corn.

Is the lesson have more faith in things you see/read on the Internet? Uh…don’t think so – but keep reading, investigating, googling, if you will…and ultimately, test it for yourself. Sometimes it’s best to be skeptical, sometimes it’s best to not give a shuck.

Patience and Perseverance: Broccoli Pie ’70s Style

The ladies of a certain generation are very protective of their old family recipes and refuse to share their secrets even among their closest friends. If, heavens, a woman finds herself forced to reveal the recipe, she might…I’m saying might…accidentally, like totally by accident…leave out one crucial ingredient rendering the replication far inferior to the original.

Such ingredient omission could result in conversations like “Louise, I made your pecan bars last week and they just weren’t as good…’ To which Louise might just smile and say ‘bless your heart’. (see Southern lady’s translation of this sentiment)

I had been begging a friend’s mother for her Zucchini casserole recipe for exactly three years. Every time I saw her I asked again and she always found a way around giving it to me.

Denial of its existence:       ‘I’m not even sure I have it written down.’

No way to send it:  ‘Oh, I don’t have email.’

Fear of being replaced:    ‘I don’t want the casserole showing up at dinner parties all over town.’

But, I was persistent and about six months ago, she sat me down, went into a triple locked vault and simply said: ‘Do you have a pen?’

Listening intently…I took copious notes and asked only one question: ‘do you think adding toasted bread crumbs to the top would be good?’ Horrified, insulted and thinking about ripping the recipe out of my hands, she shook her head disapprovingly and said firmly, ‘NO.’

When it came time to make the casserole, (and please don’t tell) I did make a few changes: I subbed out zucchini for broccoli and divided the recipe by 4 – ‘Louise’ (that’s an alias, she who has no access to the internet or this blog prefers not to be named) makes a giant batch, divides in to several 9-inch bread pans before cooking and freezes – then she pulls out a pan, thaws and bakes off as needed.

Tiny Apartment Tips:

  1. Bisquick ExpiryThis recipe was translated from one that made enough Zucchini casserole for an army – there was math – but it worked out. Don’t be afraid to do some dividing in order to cook for fewer than 57 people
  2. Write expiry dates on the side of packages that face out in the cabinet – that way each time you look in there, you’ll know how many more days you have left to use your Bisquick – I had until today (no fear, I baked this over the weekend)
  3. Don’t keep your 8×8 Le Creuset baking dish on the very top shelf of your cabinets – the fact that mine was up there kept me from using it for a very long time. Thank goodness for my Gracious Home step ladder

Broccoli Pie (serves 4)

Ingredients:

  • bisquick recipes

    70’s mix

    2 Cups Broccoli Florets

  • 1/2 Large Onion
  • 2 Large Eggs
  • 1/4 Cup Vegetable Oil
  • 1/2 Cup Bisquick Baking Mix
  • 1/4 Cup Grated or Shredded Parmesan Cheese
  • 1 Teaspoon Italian Seasoning
  • Pepper – if you want

Preheat Oven to 425 degrees

1. Mise en place – always miss en place – cheese, eggs, vegetable oil, Bisquick mix, onion half, Italian Seasoning

mise en place anne burrell vegetarian

All important Mise En Place

2. Chop the stems off of your broccoli and rough chop – then wash

broccoli vegetarian dinner side dish recipe

Lots of Broccoli – fresh from Fairway Market NYC

3. Pretend you’re going to make vegetable stock and keep the broccoli stems in the freezer until you admit that you’re not going to ever make vegetable stock and then throw them out.

broccoli stems vegetarian pie side dish

Be honest, you’re not going to make veggie stock

4. Roast the broccoli – this adds a great, browned, smoky flavor to the casserole. Spread the broccoli in a single layer on a lined cookie sheet. Toss with ‘really good’ olive oil and salt. Roast for 15 mins, tossing them around a bit about halfway through.

roasted broccoli dinner side dish vegetarian

Brown food is good food – roasted broccoli

5. Turn oven down to 350 degrees

6. Allow the broccoli to cool for about :10 mins then toss it into your Cuisinart

7. Chop the onion into chunks and toss into the Cuisinart with the broccoli

side dish recipe vegetarian casserole

Thank you Cuisinart

8. Pulse until the broccoli and onions are well minced, but still have a tiny bit of chunkiness to them

9. If you’re using shredded parmesan (not grated) – add to the Cuisinart and pulse a few more seconds

broccoli casserole recipe vegetarian

Slight chunks AOK

10. In a separate bowl combine the 2 eggs, Bisquick, Vegetable oil, Italian Seasoning and pepper if you like that kind of thing. You already salted the roasted broccoli, so no need to add more. (Also if you’re using grated parmesan, add it now)

recipe side dish vegetarian broccoli

Bisquick-y mix

11. Add the broccoli, cheese, onion mince to the Bisquick mix and stir to combine

broccoli casserole recipe

Add the broc onion cheese mix

12. It should look like this – just make sure you get all of the dry bisquick-y stuff well combined with the veggies and eggs

vegetarian casserole broccoli recipe

Well mixed

13. Spray an 8×8 Le Creuset dish with Pam or other nonstick cooking spray. Can you use other than Le Creuset? No, no you can not.

14. Spread the mixture into the baking dish evenly – should be about 1 inch thick

vegetarian casserole dinner broccoli

Spread into modern Corningware = Le Creuset

15. Bake at 350 – did you remember to turn down the oven? – for :35 mins or until lovingly browned

broccoli pie casserole recipe

Perfectly browned edges

16. Slice into wedges and serve

vegetarian side dish recipe broccoli

Sumptuous Slice

The Broccoli Pie nee Zucchini casserole recipe was worth waiting, begging and ultimately fighting for. It’s a ’70s throwback to the time when most vegetables were over boiled or minced and most side dishes included Bisquick.

To those of you who are courting women of a certain generation for a secret family recipe, let me say just this – patience and perseverance pay off. And, if this dish starts popping up at dinner parties all over town – please don’t tell ‘Louise’ about this blog.

Snow! Snow! We Can Eat Again! – French Toast

french toast breakfast recipe french bread

Perfectly Browned

I have to tell you, I kinda love a good snow storm. OK, I don’t really have to go anywhere today – so, maybe it’s easier for me. I still get that ‘maybe school will be canceled tomorrow’ excited feeling the night before. I even slept with my shades up last night so that I could see the white stuff falling when I woke. True.

During one snow event when we were little, as the heavy snow came down, my sister proclaimed: ‘SNOW! SNOW! We can eat again!!!’ (You, my follower(s) may now really think we were starved as children…no – maybe just food obsessed)

cinnamon sugar shakers snow

Filled with yummy goodness – ours was yellow and plastic – but served us well.

What my sister was talking about was the cinnamon-sugar-snow-bowls my mother would let us make with fresh snow.

We’d take a bowl out to the backyard, scoop up some snow, cover it with a tasty mix of cinnamon and sugar from a bear-shaped shaker and down it while watching the snow fall.

Yum. Pretty sure parents wouldn’t let kids do that anymore – what with the acid rain, pollution and potential dog pee, peanut allergies, Lyme disease etc.

I don’t know what it is about a good storm that makes me what to eat more. It sometimes even drives me to bake – see chocolate chip cookies. Maybe it’s the comfort of knowing that all of the potential weight gain will be well concealed by the eskimo-like attire I’ll be forced to wear if I venture out…maybe.

Last night I made Pot Roast – a truly hearty meal in preparation of the storm.

This morning it was French Toast (serves 2).

Tiny Apartment Tips:

  1. You can use slightly staled bread – you know you have some in your microwave or even freezer
  2. There’s no substitute for real maple syrup and there’s no excuse for serving cold syrup

Ingredients:

  • vanilla french toast snow

    The Good Stuff

    2 Eggs

  • 2 TBSP whole milk/cream – ok, I only had 2%, but the fattier the milk, the better
  • 8 slices of left over french baguette or 3-4 slices of bread – whatever you have. I had left over from the Baguette I bought yesterday at Fairway – best bread.
  • 1/2 TSP of  Good Vanilla – I just got the Nielsen-Massey Madagascar stuff at Williams-Sonoma during a post-holiday sale
  • Butter
  • Real Maple Syrup

Directions:

1. In a bowl, crack the eggs and whisk together with the milk and vanilla

2. Slice about 7-8 slices of last night’s baguette and dump them in the eggy mix – I soaked the first 5…then the rest for batch 2.

french toast recipe breakfast

French Toast Soak

3. Let them soak for a bit – especially if you went the baguette route. Flip ’em over and soak ’em until they’re soft but not overly soggy

4. Heat a skillet on medium and throw some butter in there – it’s snowing, you can use all the butter you want, it won’t count. Plus the butter adds flavor and will help brown your breakfast.

5. Put the eggy soaked breads in the skillet. Be patient.  Wait to flip until there’s a lovely brownness on one side – you can sneak a peek to check for brownness.

french toast breakfast browned

This is the right amount of brownness

6. While waiting – heat your syrup – just nuke it for :20 seconds or so. I mean, what’s the sense of serving a warm breakfast if you’re going to ruin it with cold syrup. Seriously!

7. Flip the deliciousness and cook the second side until equally brown

8. Serve with warm syrup and butter

Every time it snows I can hear my sister’s voice – maybe she’s giving me permission to eat all I want until the storm passes. Maybe she’s just reminding me of how delicious life was with a bowl of cinnamon-sugar-snow. Either way, I’m heeding her message – Snow! Snow! We Can Eat Again!